Building BabyLegs
Instructions on how to build the BabyLegs surface water trawl
PDF Instructions
Materials
- Square-mouthed waterproof container with a mouth at least 6 inches wide (we recommend an empty plastic juice jug)
- Plumber’s clamp that will fit around the container
- Nylon (not cotton!) baby or toddler’s tights (we recommend pink or red for contamination control)
- Rope (we recommend a bright colour in case threads contaminate your sample)
- Scissors or utility knife
- Screwdriver or nutdriver to open and close the plumber’s clamp
- Drill, single hole punch, or grommet punch (optional, but useful for making holes in the plastic)
- File or sandpaper (optional, but useful)

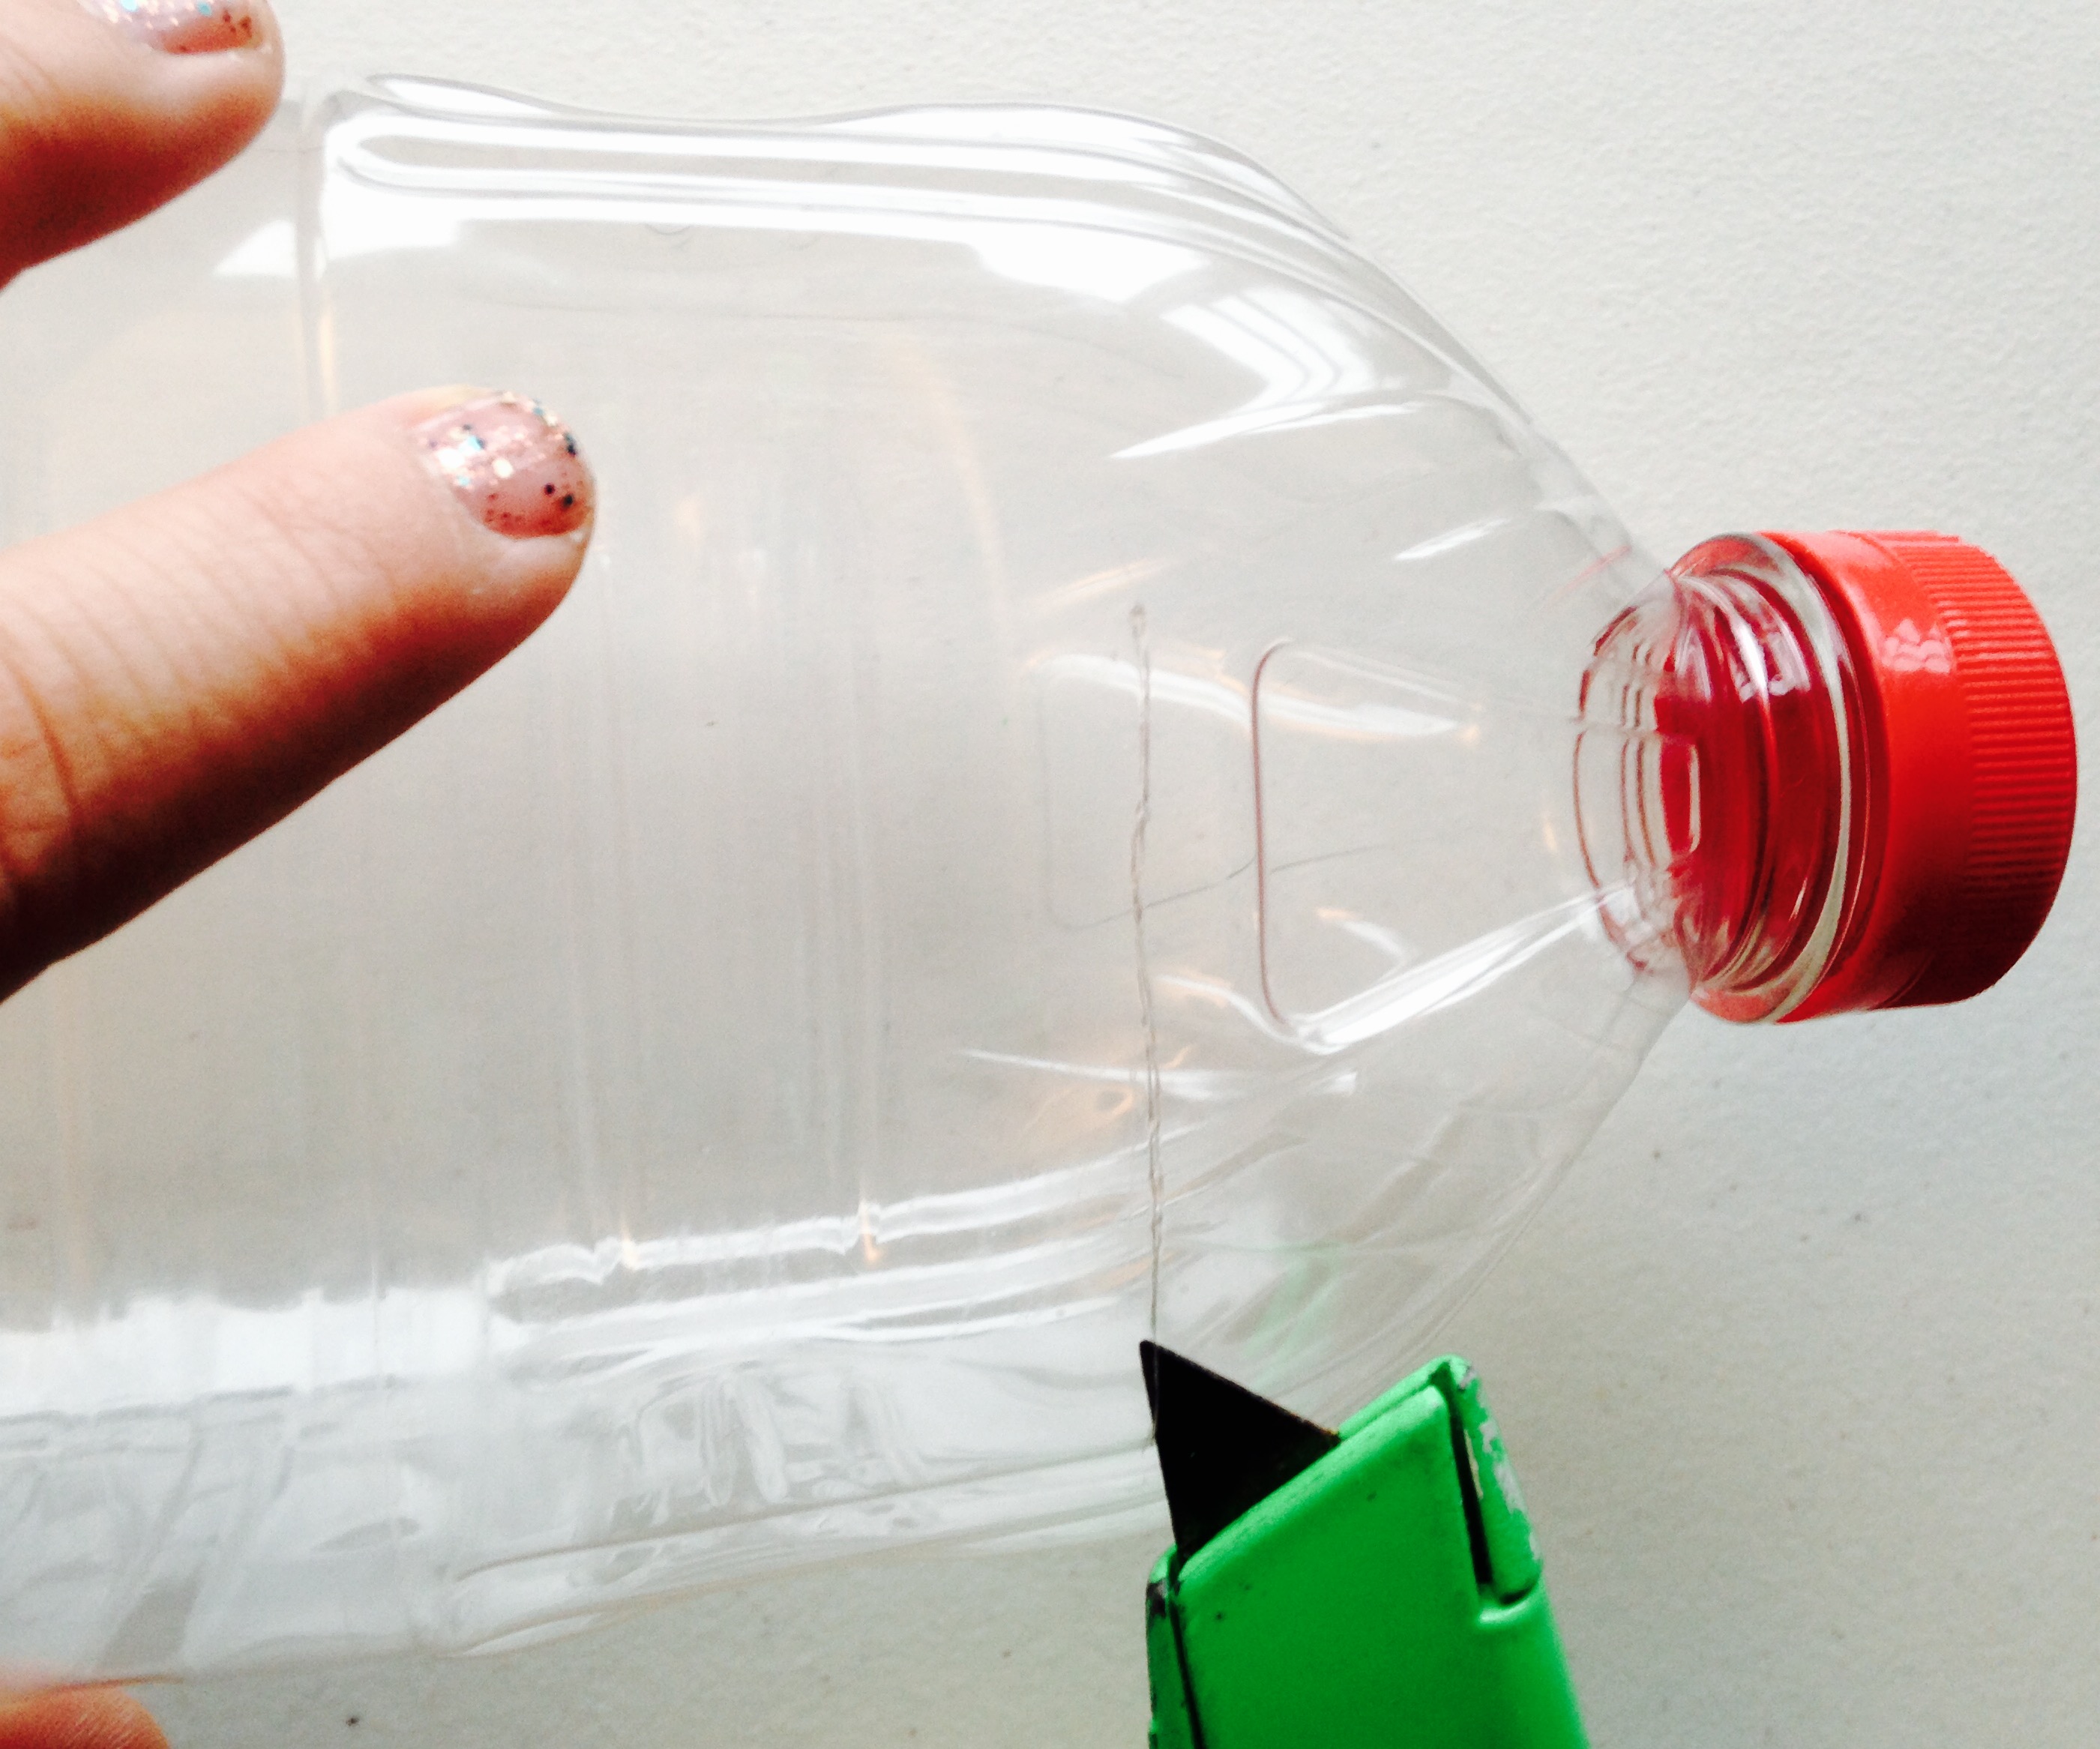
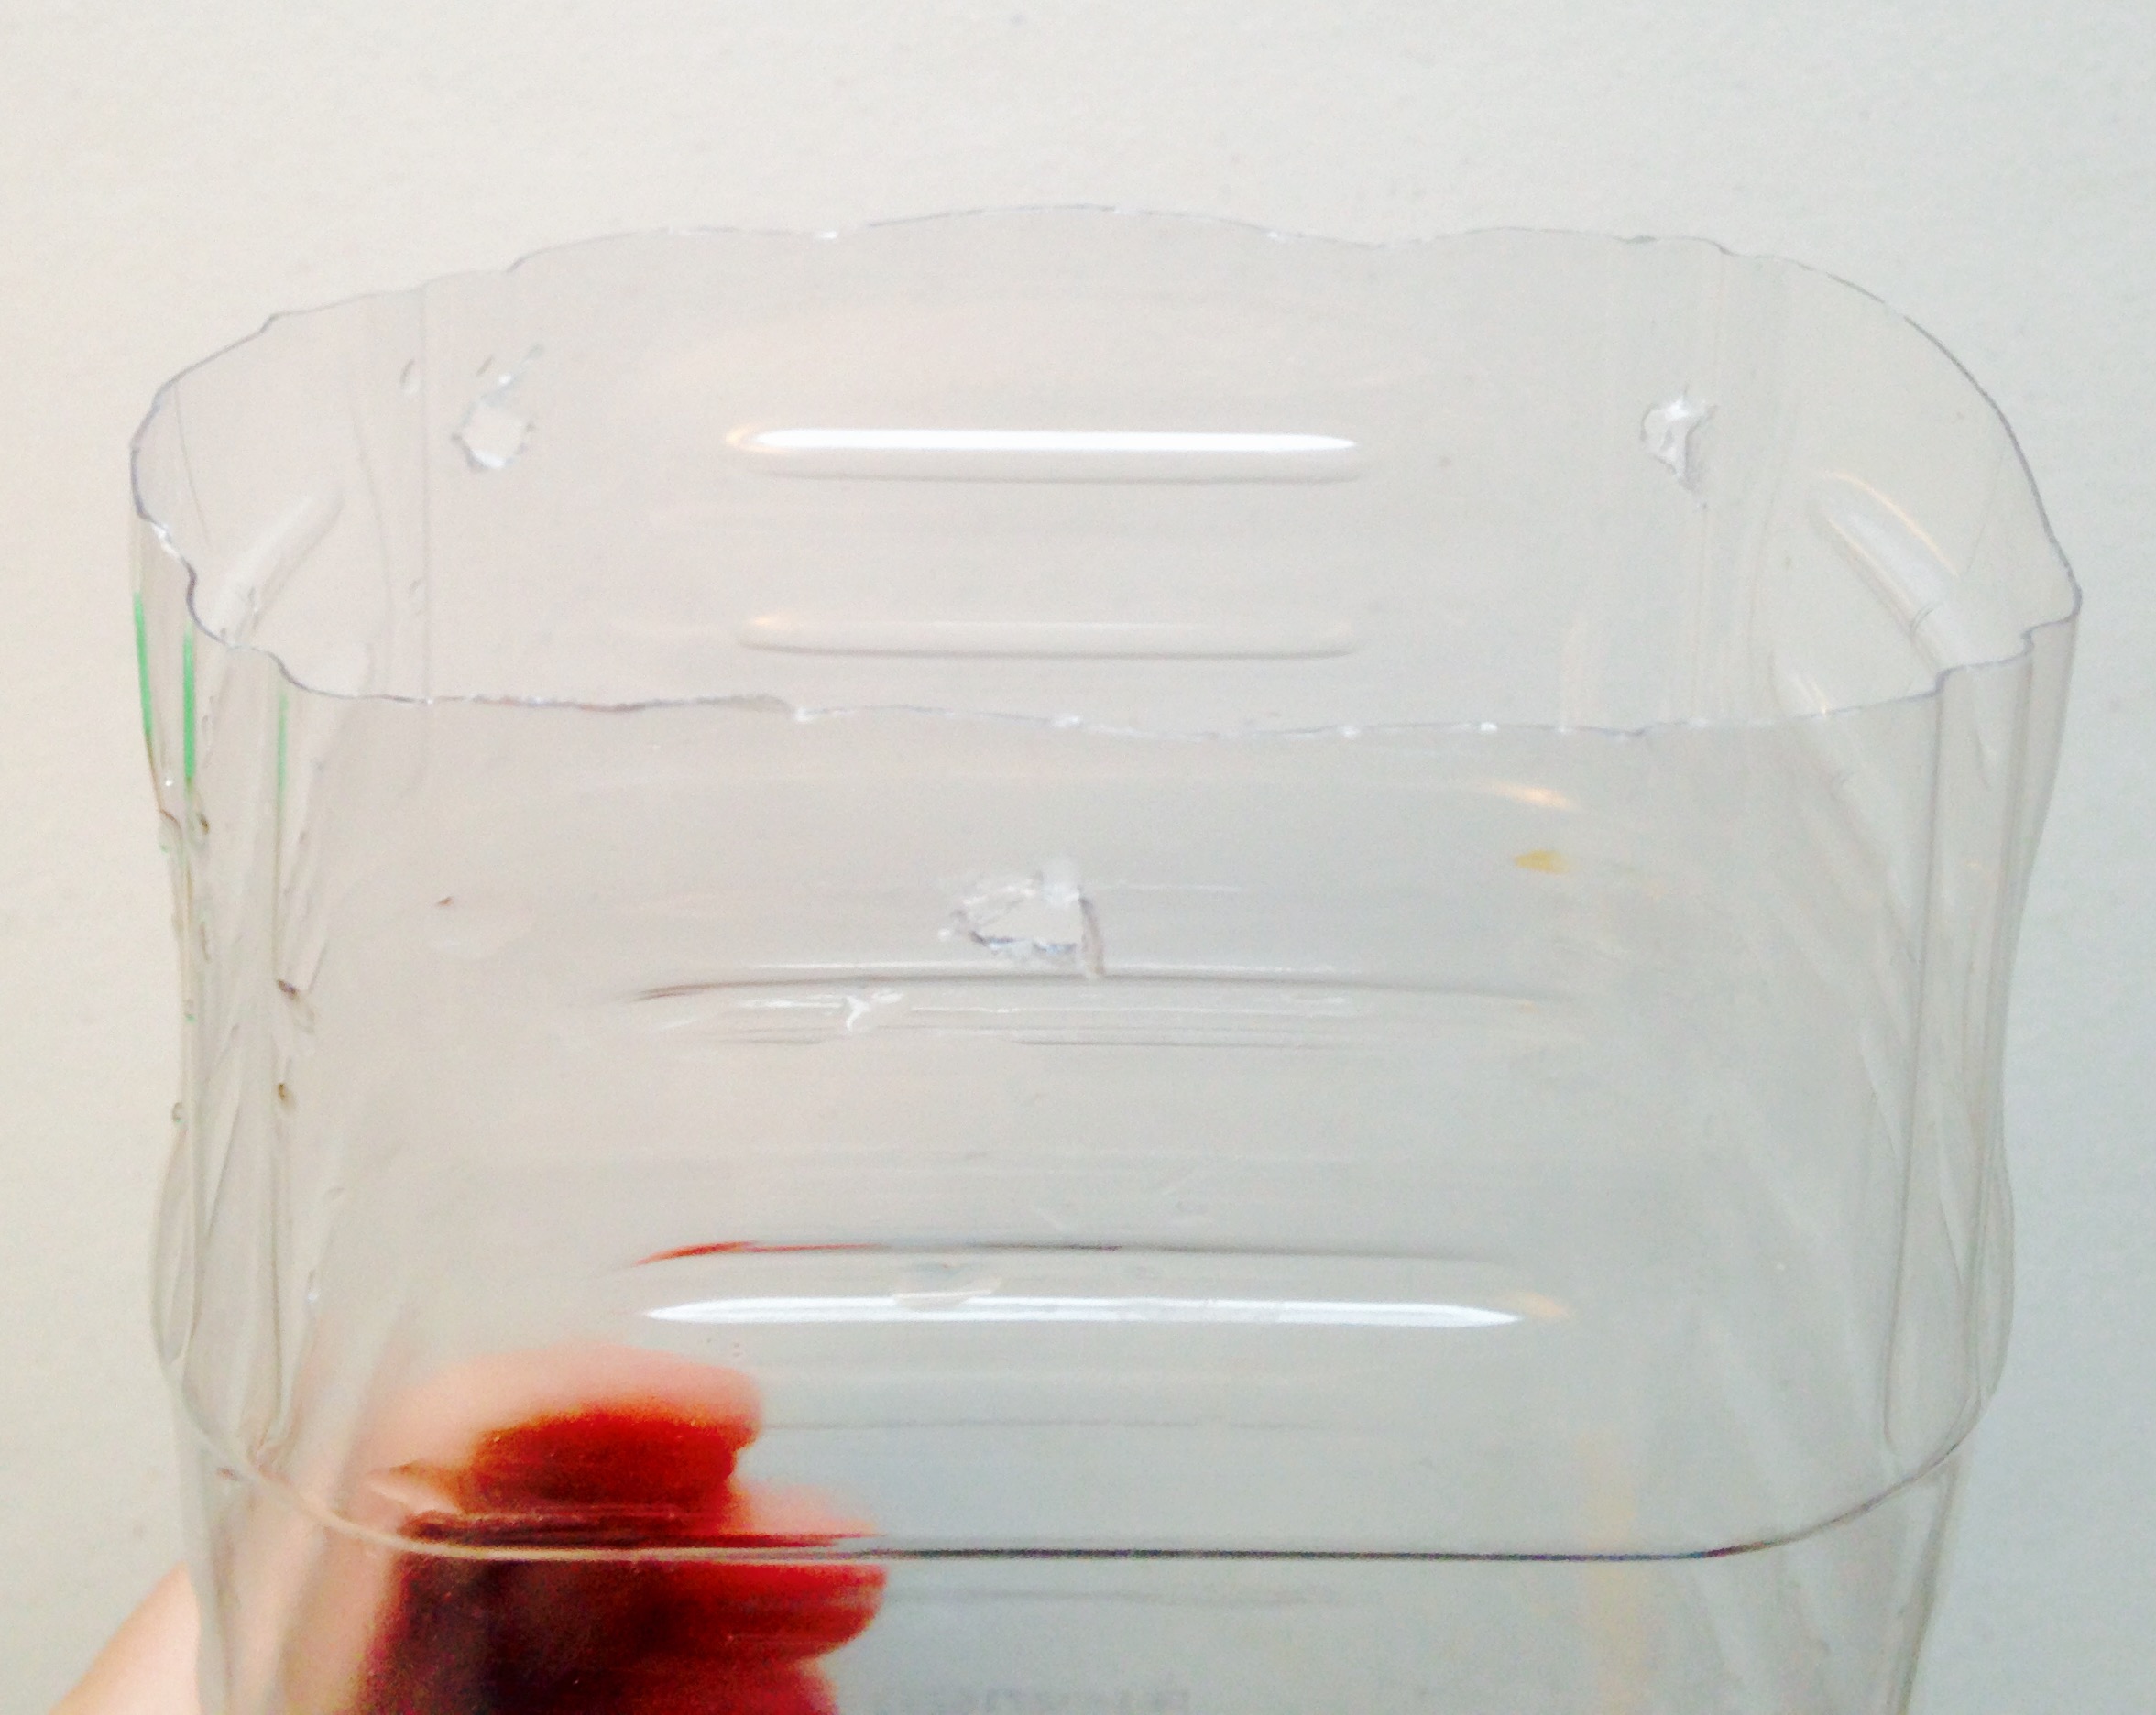
Step 1:
Cut the top and bottom off a waterproof container to use as BabyLeg’s body. Ideally, there will be a place to crimp the plumber’s clamp later (see below), like a ridge or a curve. We recommend containers with openings 6 inches and larger to get adequate samples. Square-mouthed containers are more stable in the water (round ones tend to spin). We tend to use square, plastic juice containers but have also used bulk ketchup containers, kitty litter containers, small buckets, and even a cardboard milk carton. Use what works best in your environment based on what you have available.
Step 2:
Cut, punch, or drill three holes around the edges of the mouth of BabyLegs. We find one-hole paper punches work the best. These holes are for your ropes to pull the trawl through the water. The mouth should be the side with the smallest opening (otherwise it creates drag). Put holes above where you are going to put the tights. You can’t put the holes where the thights will be! There should be two holes at the top and one at the bottom, as this configuration gives the trawl the most control over maneuvering BabyLegs with roll while in the water.
Step 3:
Trim, file, or sand the holes so they don’t have sharp edges that might snag the tights. Do this for the cut edges at the top and bottom of the container as well. We don’t want runs in our tights–it’s bad for science because the snags might let samples escape. We also don’t want any rough plastic bits that might fall into the sample and be mistaken for pollution.
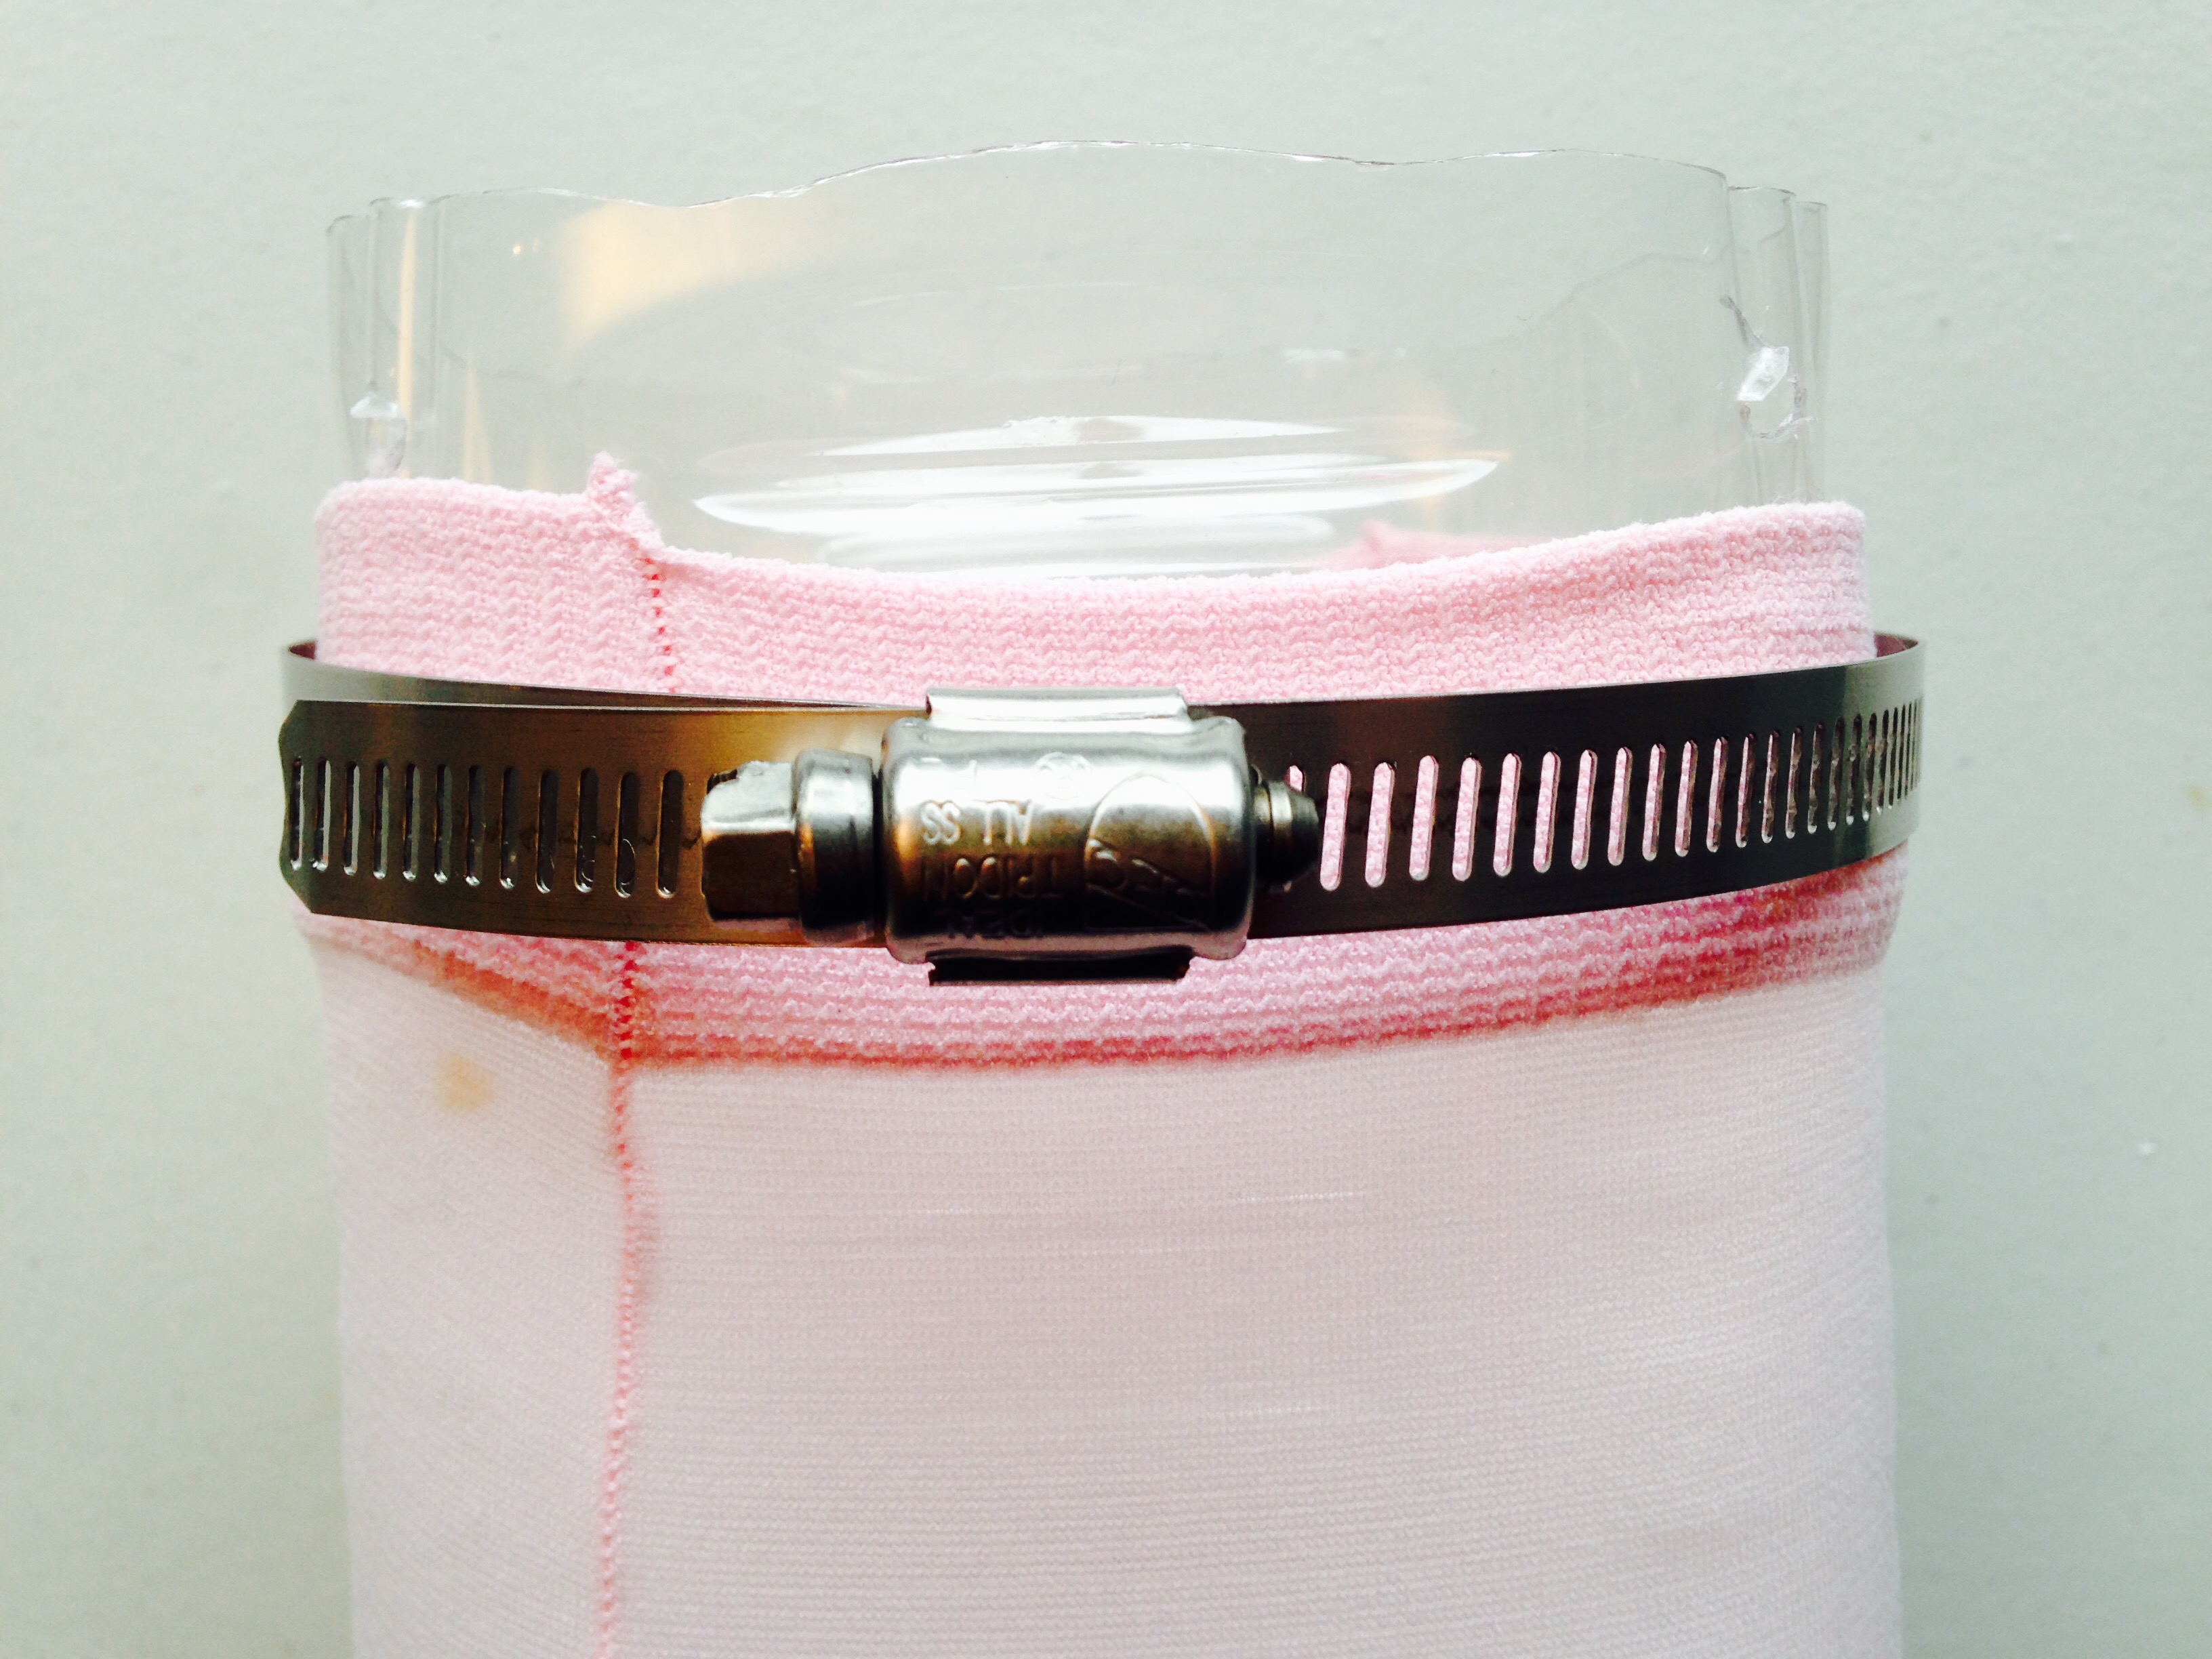
Step 4:
Open a plumber’s clamp wide enough to put over BabyLeg’s body. If your clamp isn’t big enough, you can join two clamps together. Put the baby tights between the container and the clamp. The strongest part of the tights—the waist band—should be where the clamp attaches. You may have to crimp your clamp if your container is square (see image below).
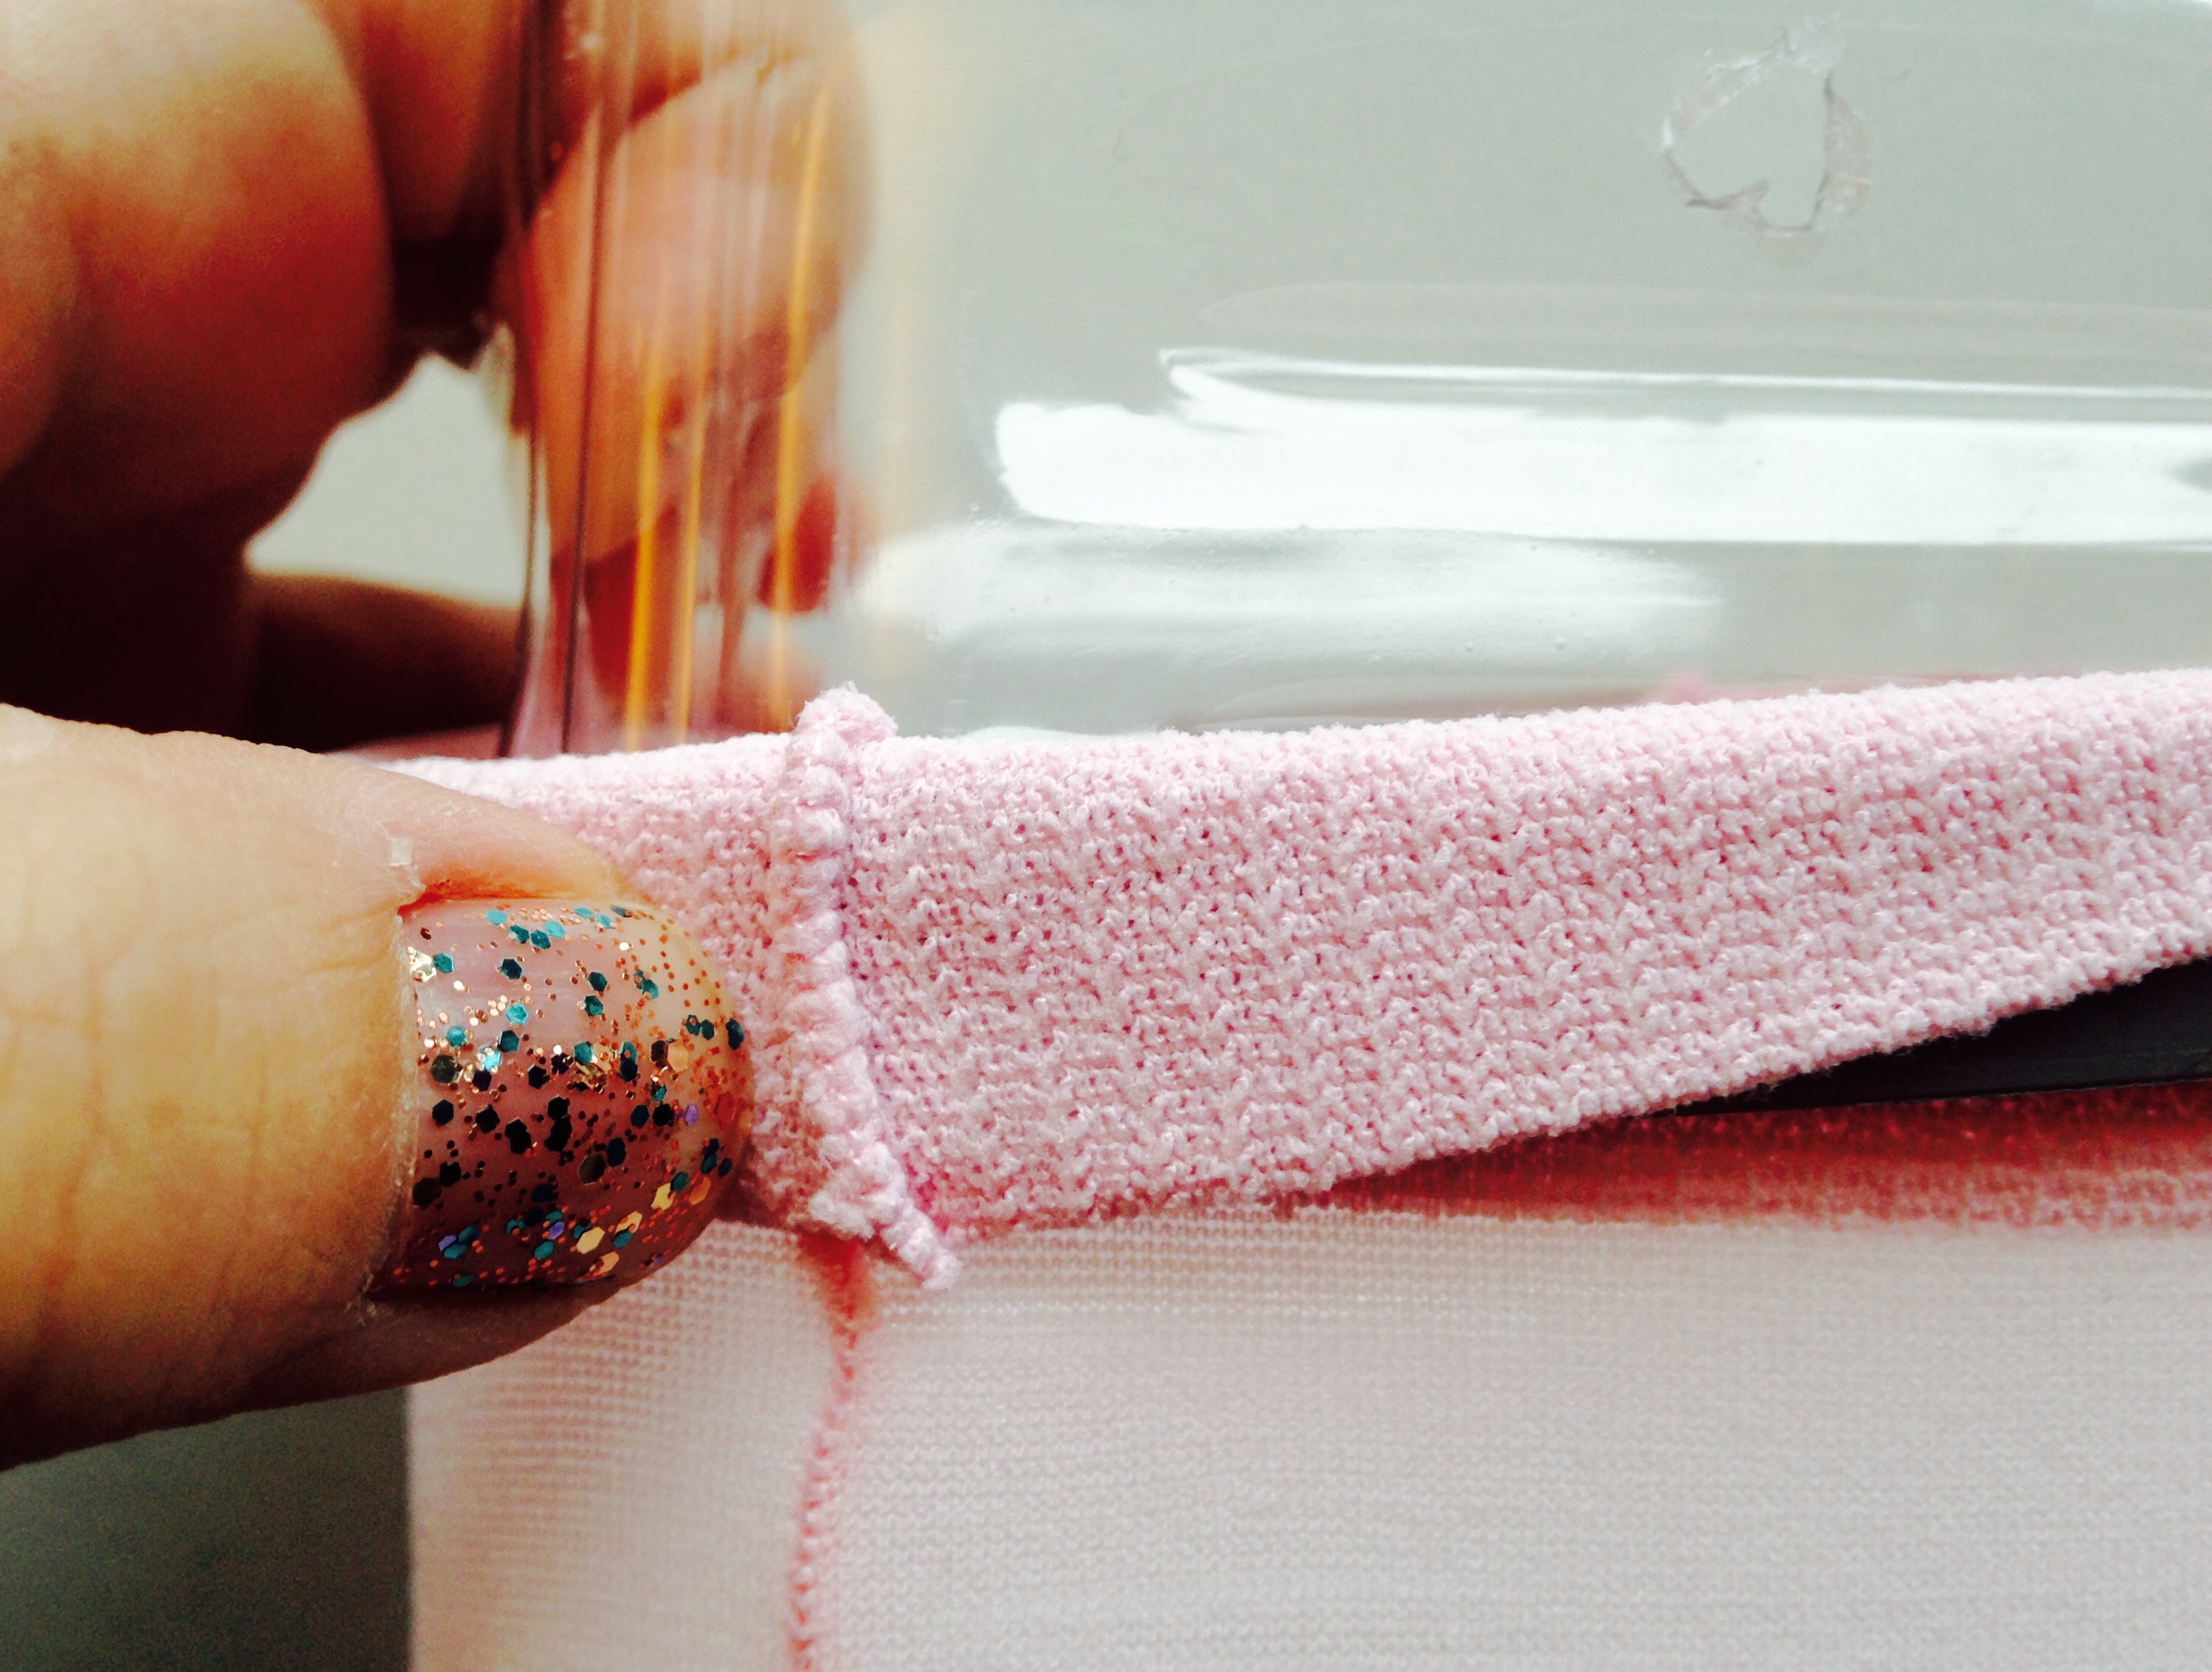
Step 4b:
If possible, wind the tights around the clamp for added strength. If you clamp the thinner material, it may create holes. The stronger the clamped area on the tights, the better the trawl will be able to deal with rough weather, waves, higher speeds, and gunk in the water. You also don’t want to lose the tights!
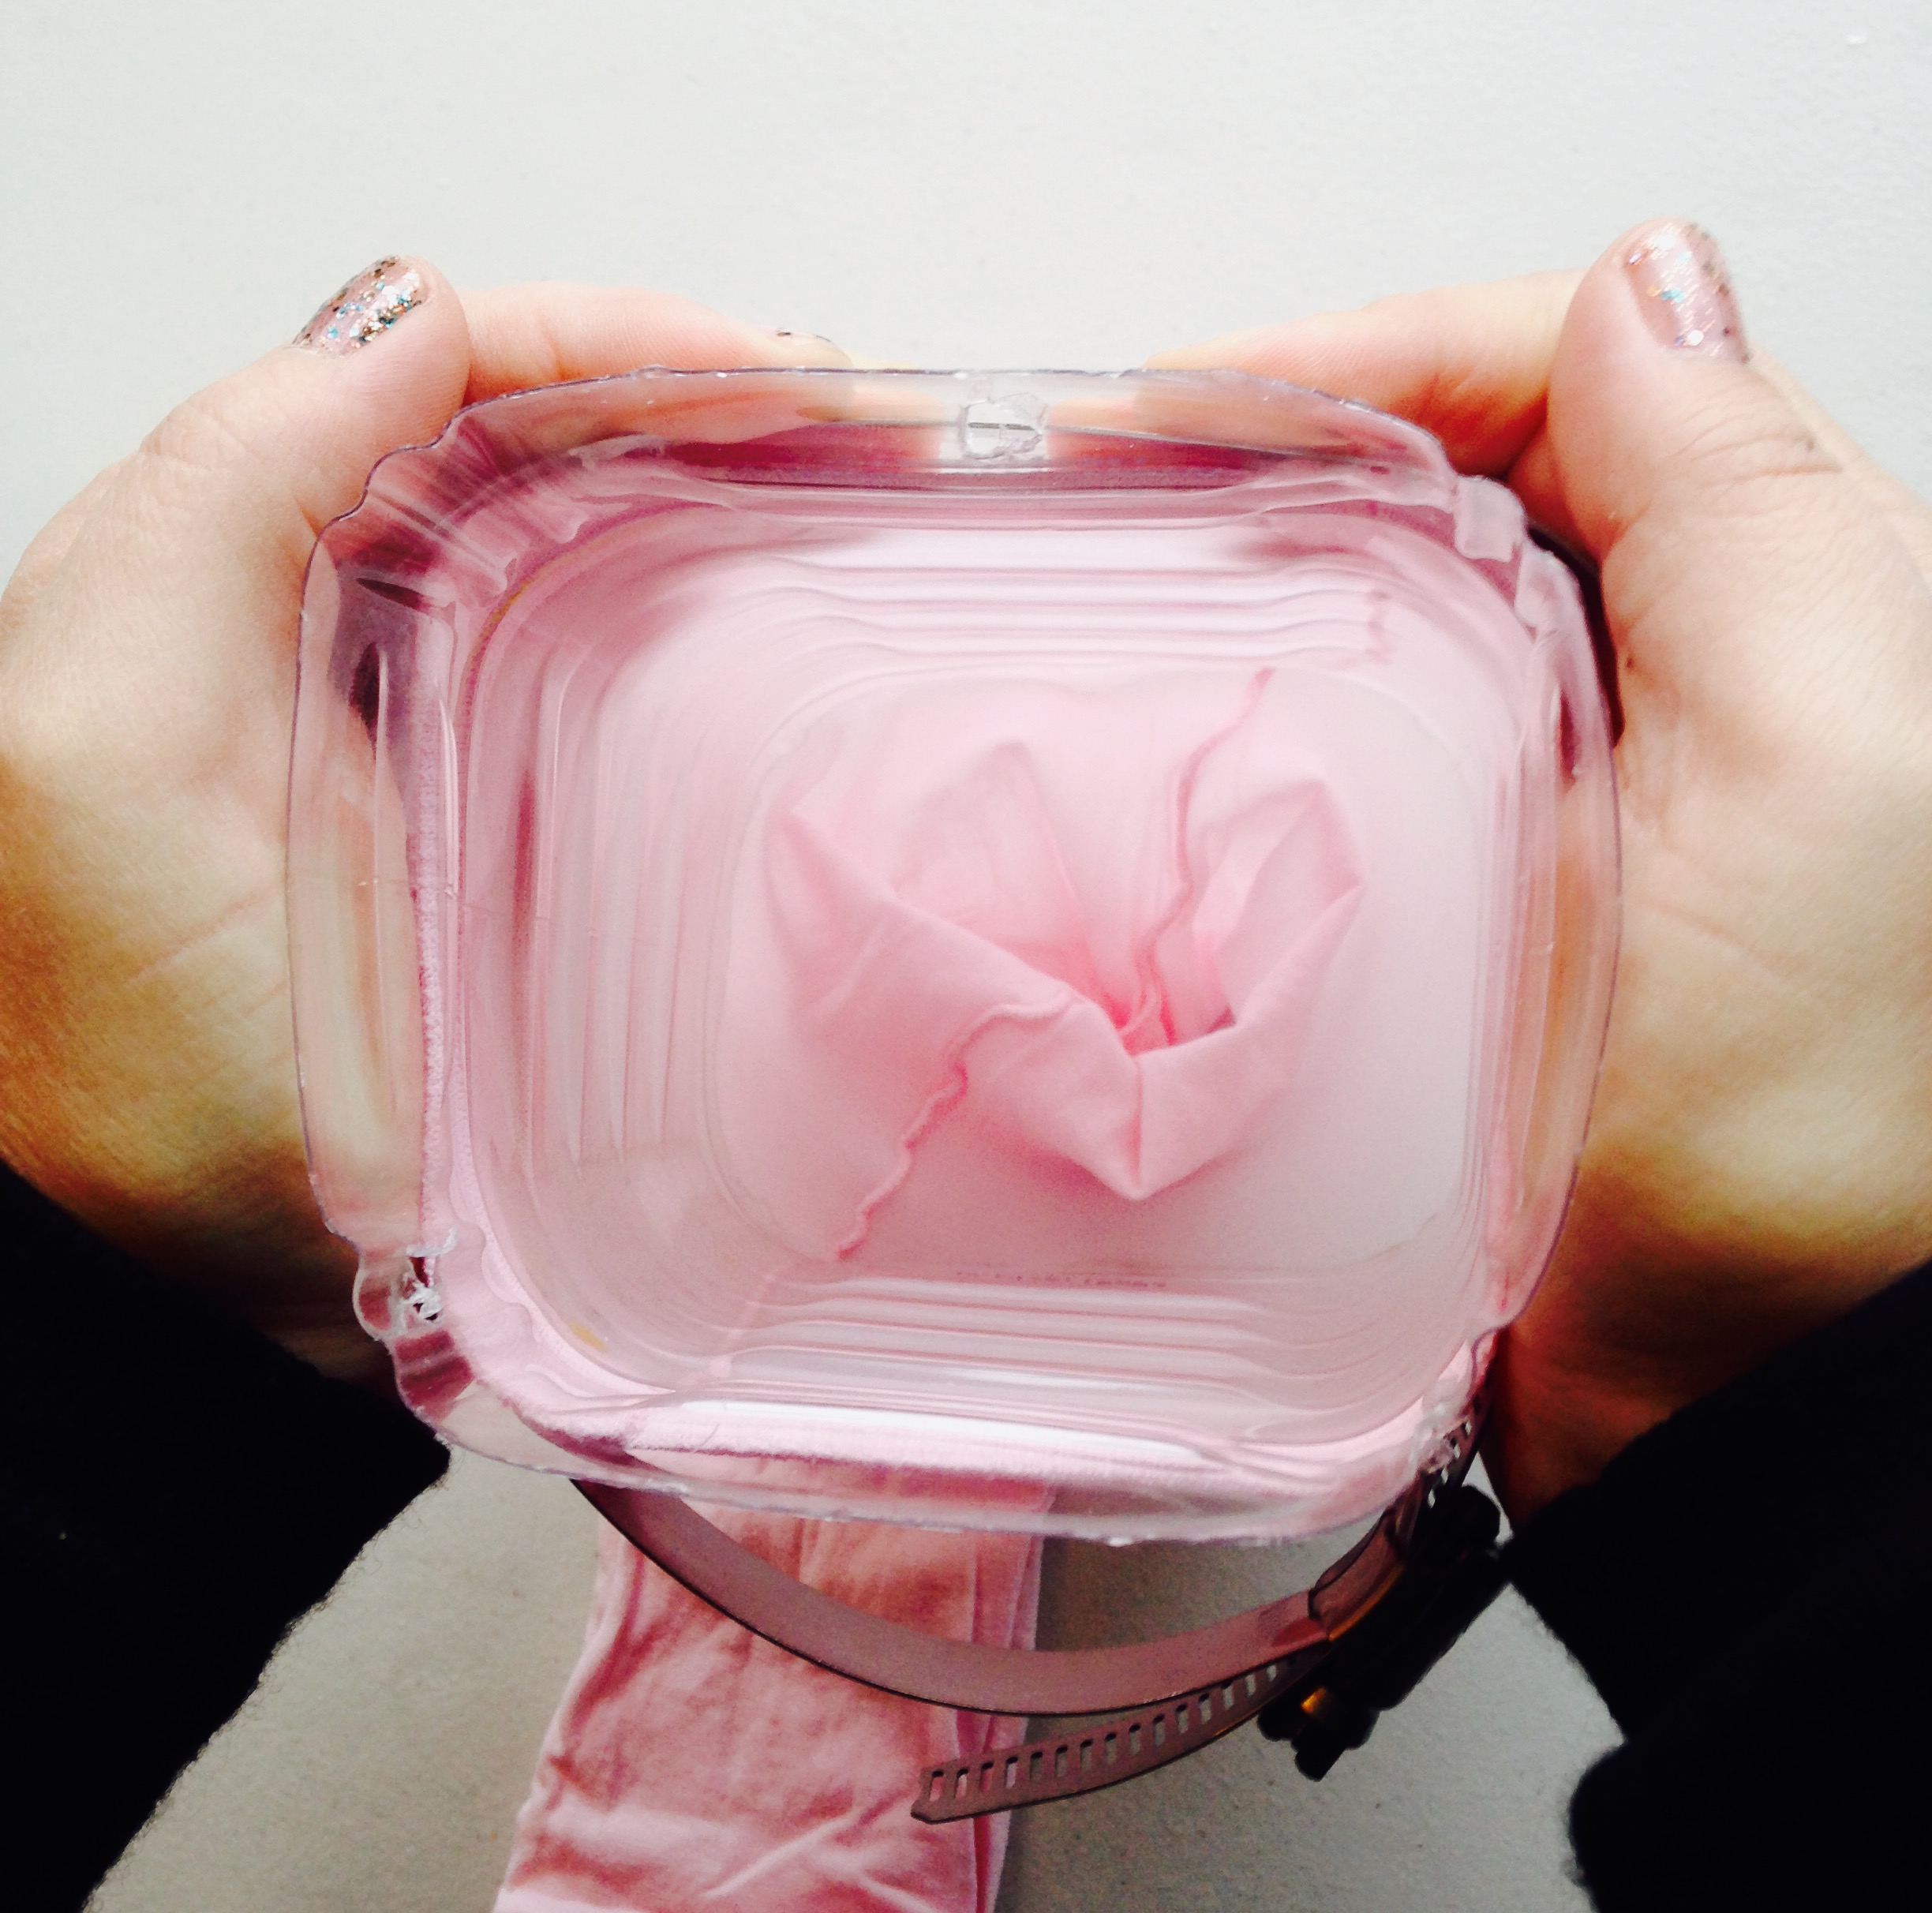
Step 5:
Close the clamp security, but not too tightly that it stresses (bends) the container significantly. If your container is square, you may have to keep crimping the corners of the clamp to make it square-ish so it tightens evenly. Test by tugging on the tights. Water is very strong, so tug with confidence. If the tights come off, try again.
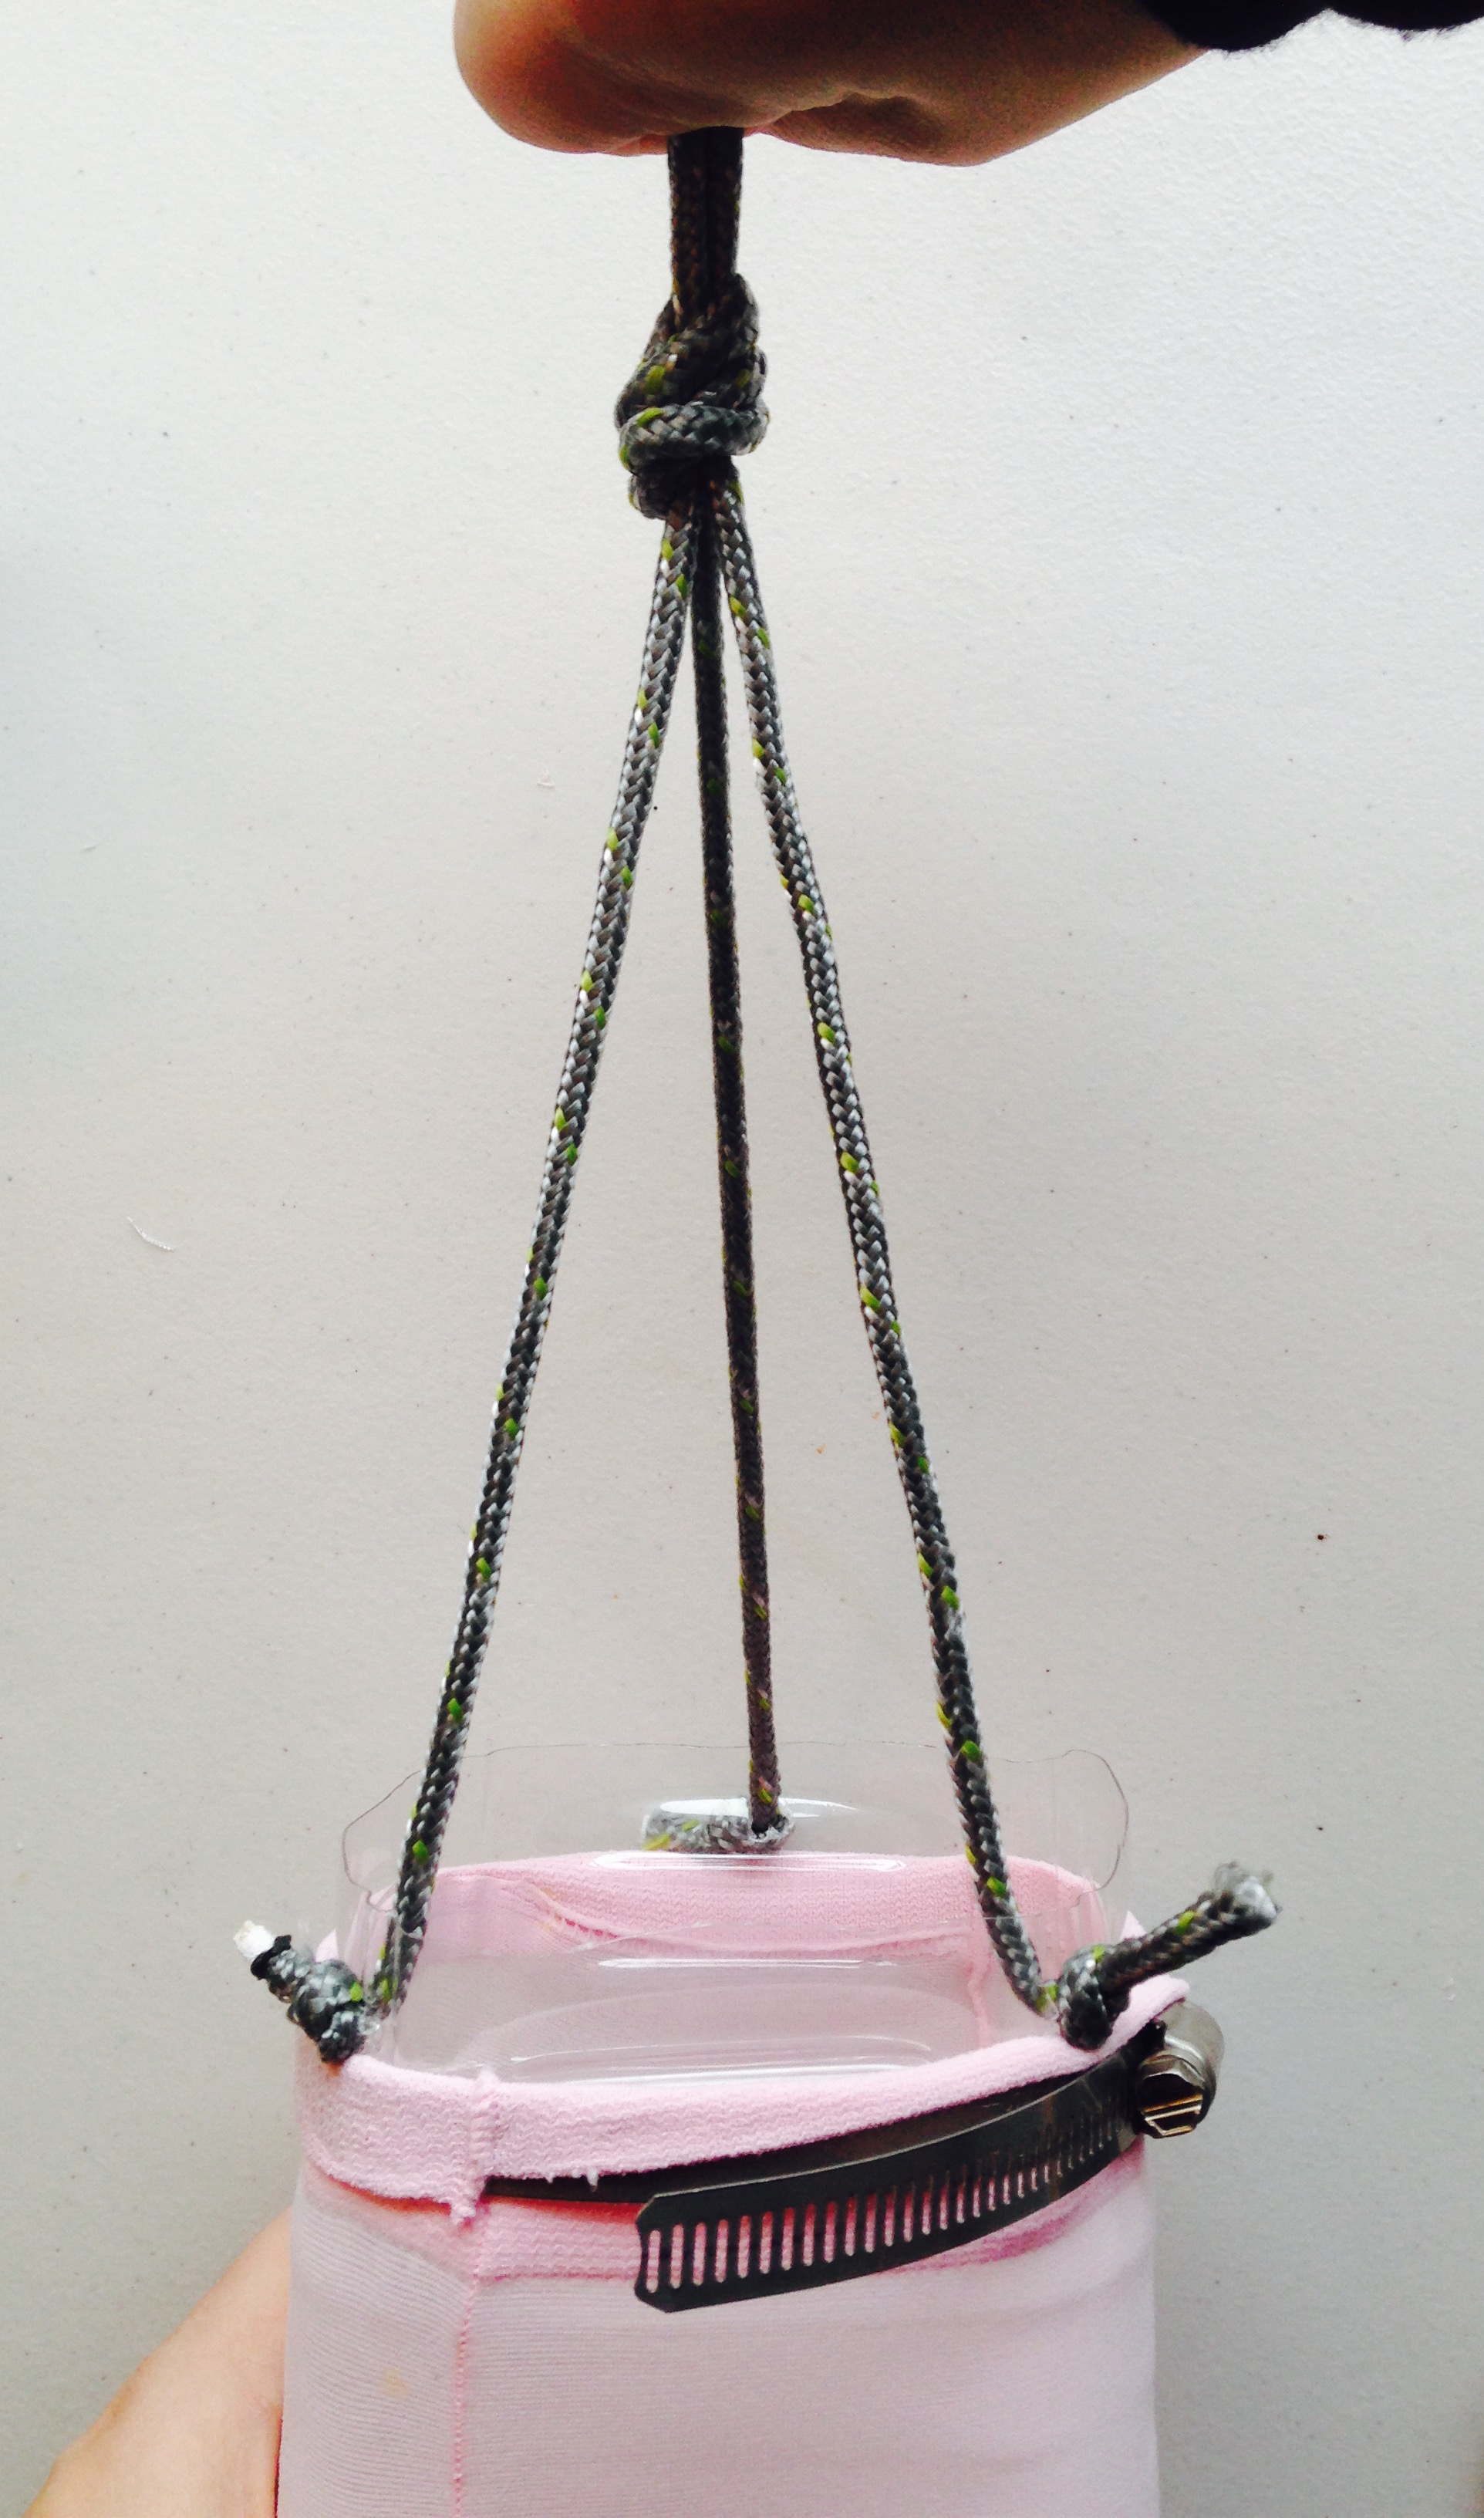
Step 6:
Attach a rope to the three holes you’ve created around the mouth of the trawl. Tie them so that they evenly attach at one central point. One way to test this is to dangle the rope from the top and see if the container is even. If it is uneven, BabyLegs can spin in the water and snag up the lines. Melt, tape or otherwise secure the ends of the rope so threads do not contaminate your sample. If you can’t melt them or are concerned that they might contaminate your sample, tie them so the ends are on the outside of the trawl rather than the inside.
Step 7:
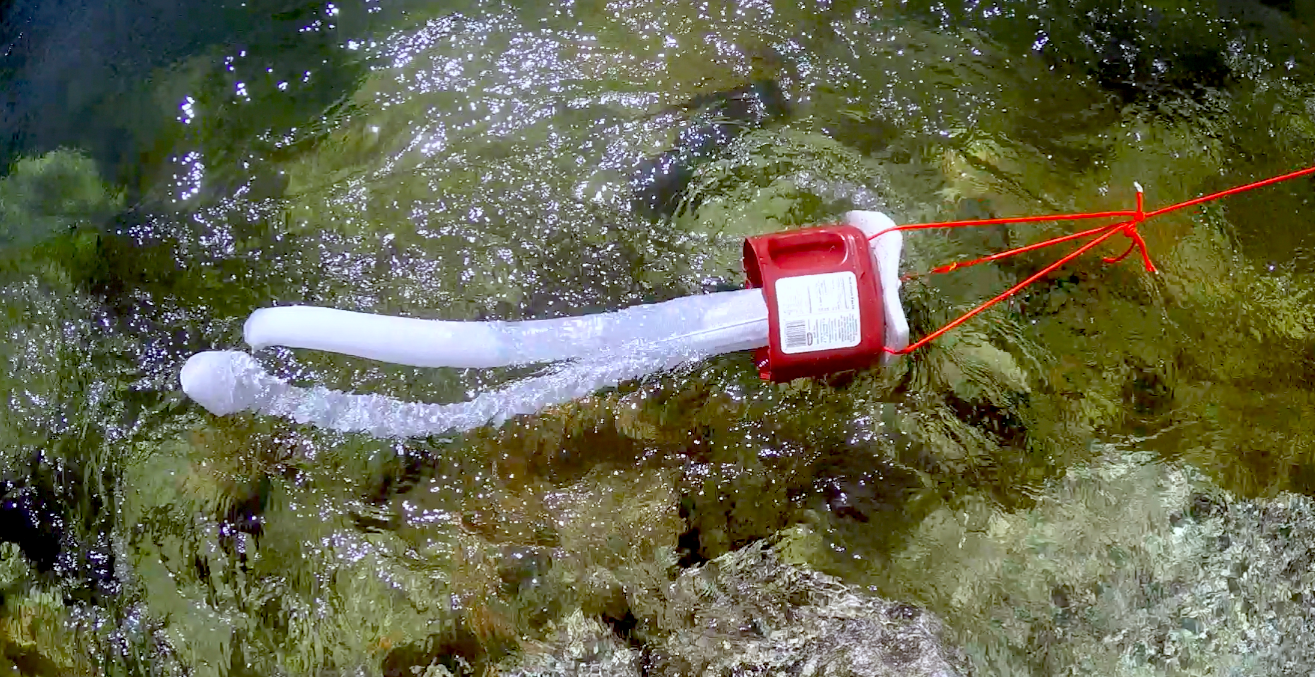
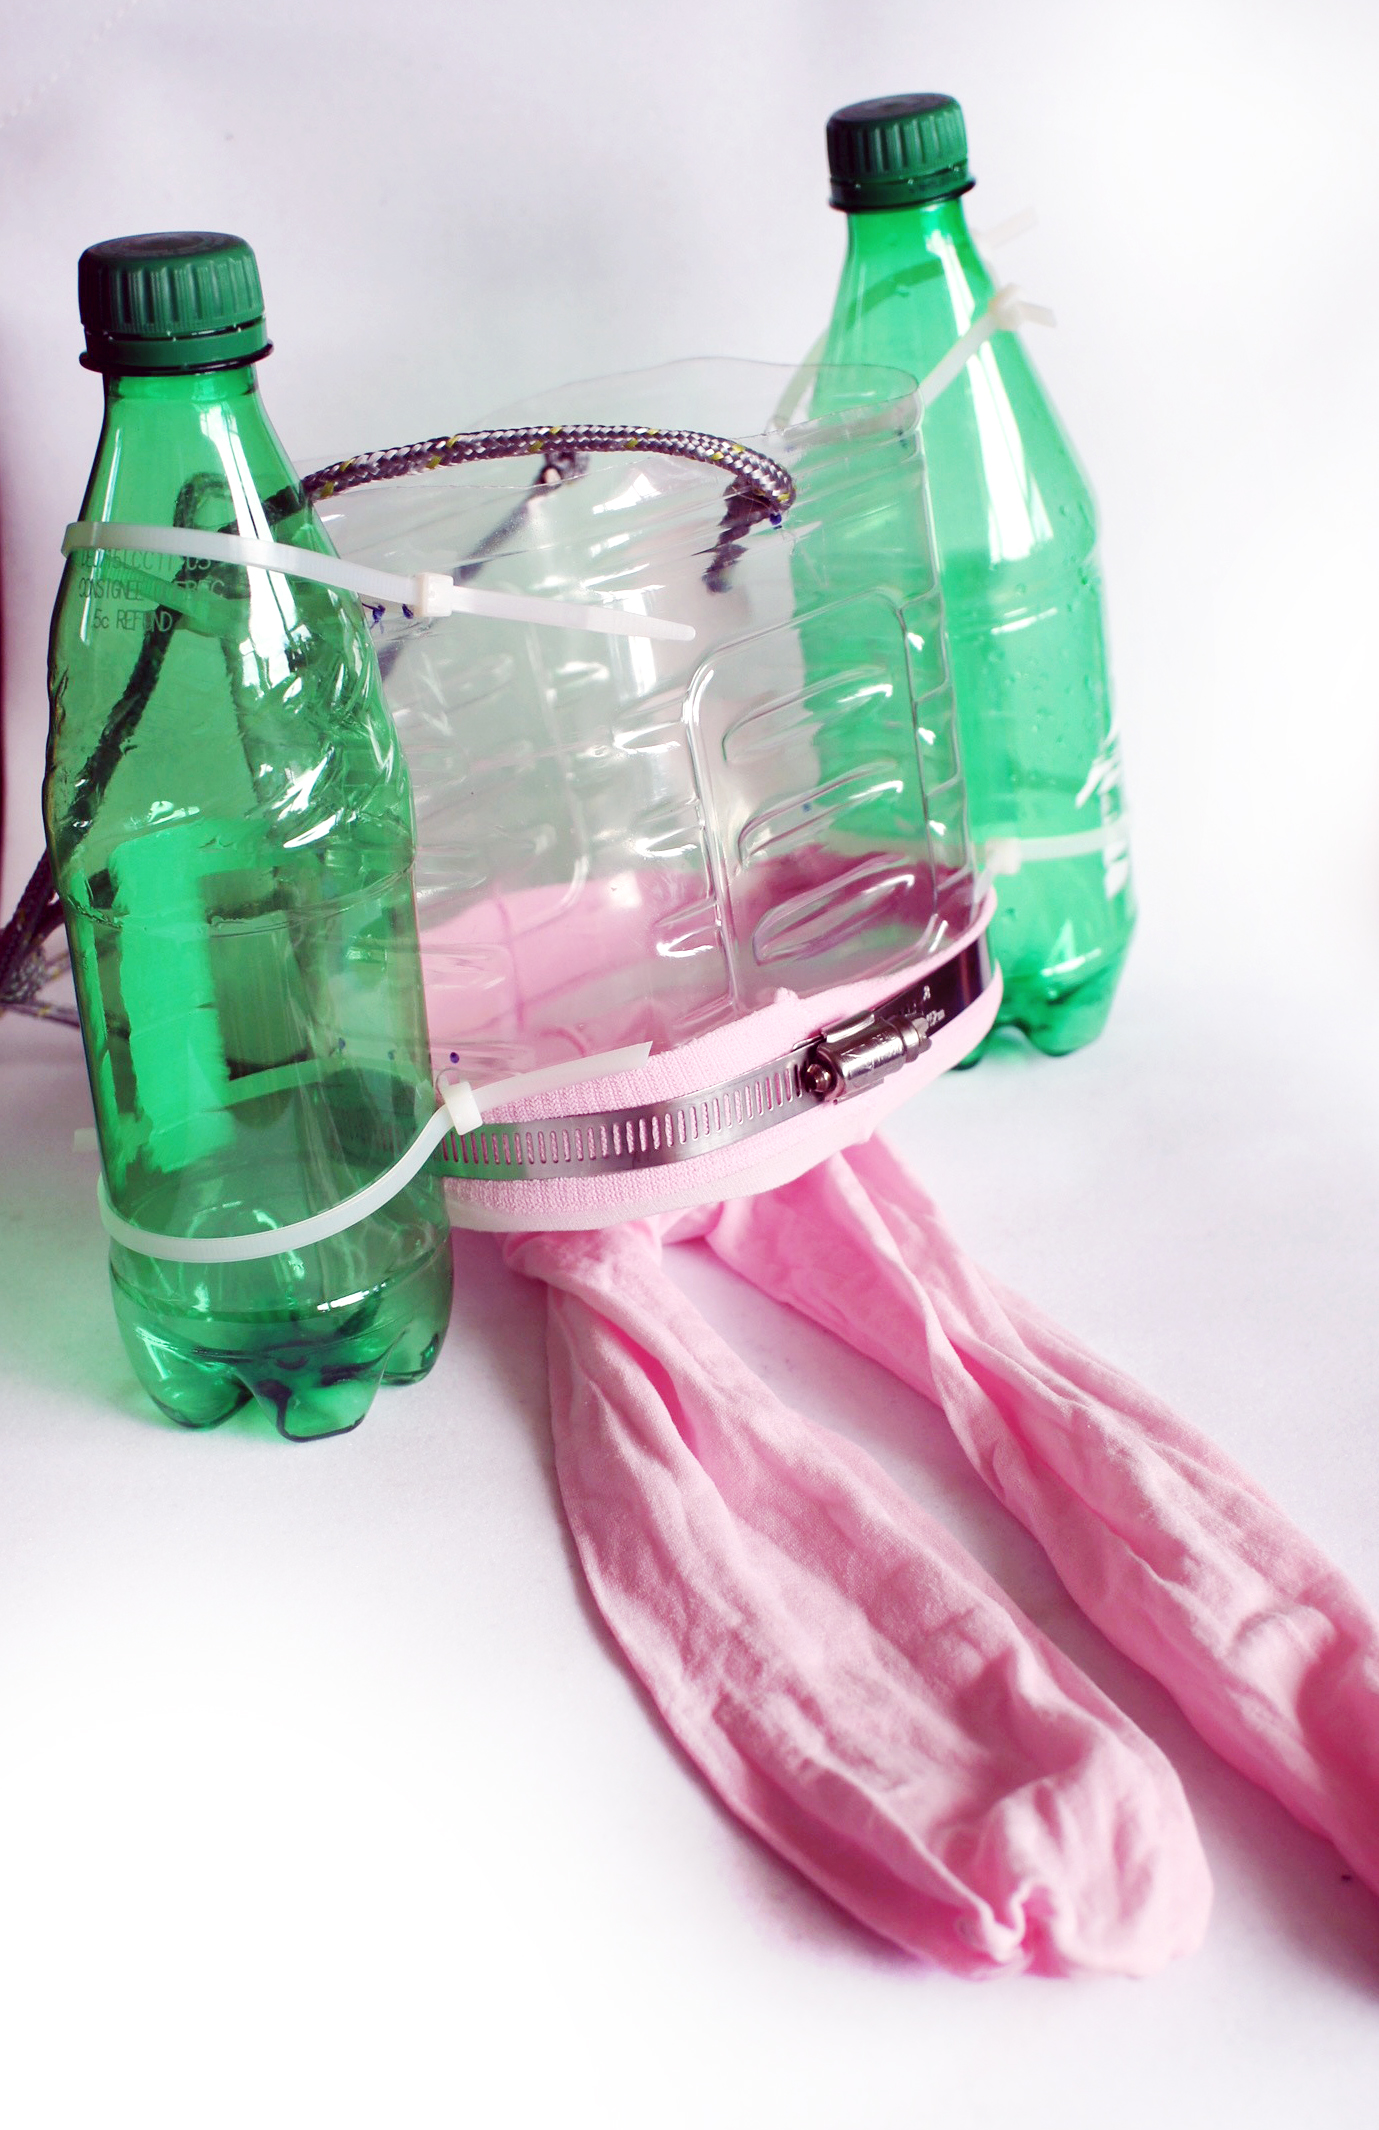
There are other additions to can add to BabyLegs depending on the type of water and vessel you are using. You can add “water wings,” soda pop bottle pontoons, manta wings, and other stabilization or flotation devices for very calm and slow water, or choppy water. In the Arctic, we’ve had to put a muzzle on the front to avoid ice. The image here has soda pop bottle pontoons to help with waves. Notice that the tights were adjusted to be lower on the outer container to accommodate extra holes to secure the pontoons.
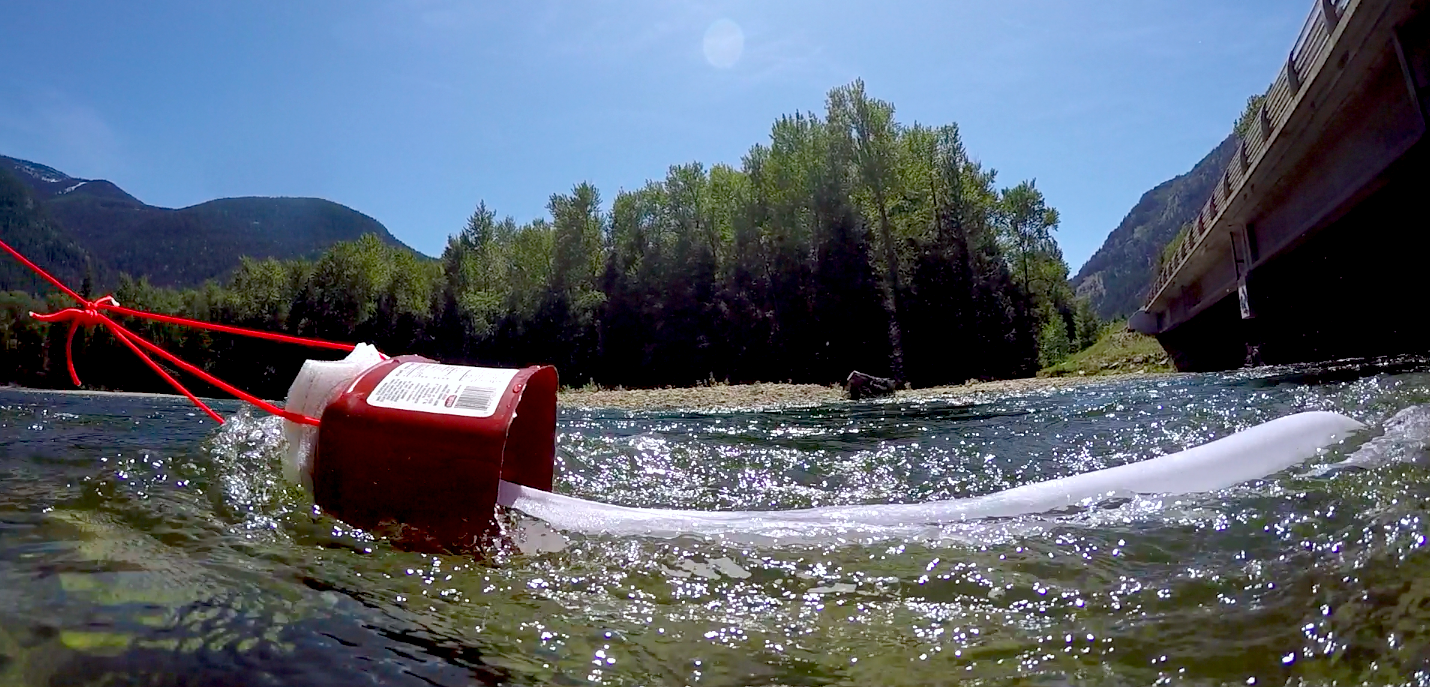
Here are some other versions of BabyLegs. The trawl is endlessly adaptable to the environment you want to use it in and the materials you have on hand. However, the more you change the design, the more important it is to test to make sure that she stays afloat properly in the water. A bathtub can give you a sense of whether you’ve built a floating, stable trawl before you try it in the environment. And remember: we don’t want to add more plastics to the water, so make sure your items are secure and aren’t shedding microplastics!