Protocol for identification of microplastics in samples (<250µm) using multiple senses
Visual particle analysis is one of the most common and well-utilized methods used by plastics researchers for plastic identification (Mariano et al., 2021). Here, we detail our Sense-based Plastic Observation Technique (SPOT) that expands on existing methods for visual observation and stereomicroscopy to explicitly include other sensory identifiers. The purpose of this protocol is to confirm whether a particle is plastic or other anthropogenic debris, and to create data about morphology, colour, size class, size, weight, erosion, and erosion type of each plastic for further analysis.
This protocol has been adapted from CLEAR’s internal lab book. Accordingly, this protocol and its suggestions are specialized for identifying particles in marine animal gastrointestinal tracts and surface waters but is likely useful in other contexts. Some details (details about entering data in our spreadsheets, protocol details particular to our lab space, etc.) have been removed.
Table of Contents
Materials
- A filter containing potential plastic particles
- Field and lab blanks
- Contamination library
- Dataset
- Calipers
- Dissecting Microscope
- Compound Microscope
- Lighter
- Needle
- Tweezers
- Scale (that measures to 0.001g)
- Scintillation vials
- Glass slides
- Petri dish (usually plastic)
- Clear tape (Double- and single-sided)
- Labelling tape
- Fine tip permanent marker
- Lab coat
- Face mask
Protocol (abridged)
Prepare your space
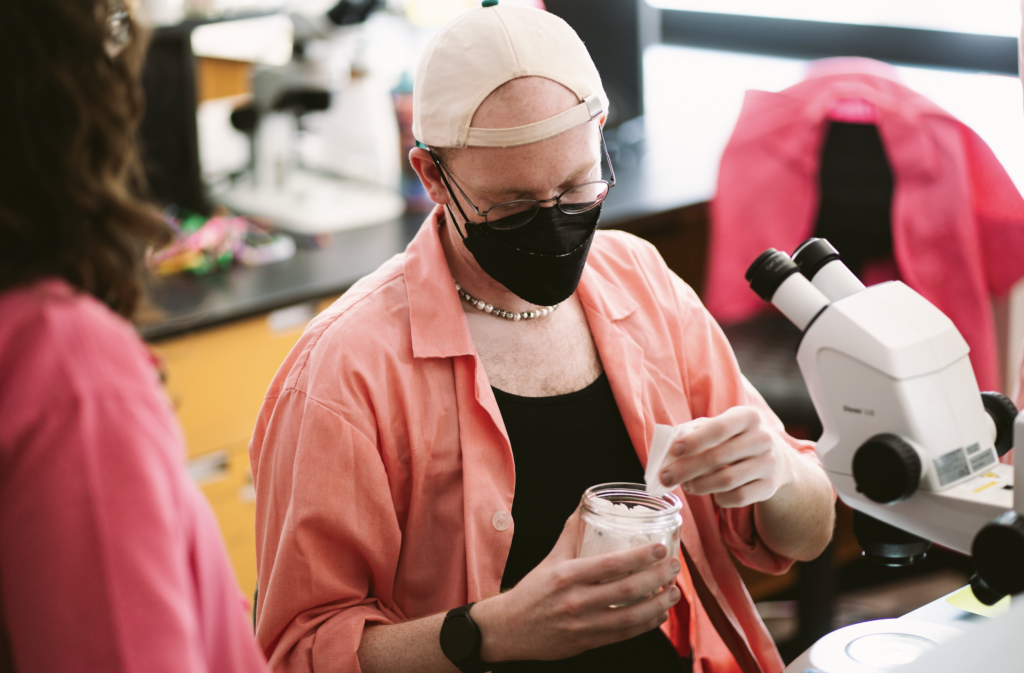
1. Wipe the area of the lab bench and the microscope stage with a damp kimwipe to remove any dust. During identification, always tie hair back (if necessary) and wear a (pink) lab coat (the pink colour helps determine if any microfibres came from your coat). Wear a facemask so that your breathing does not scatter microfibres.
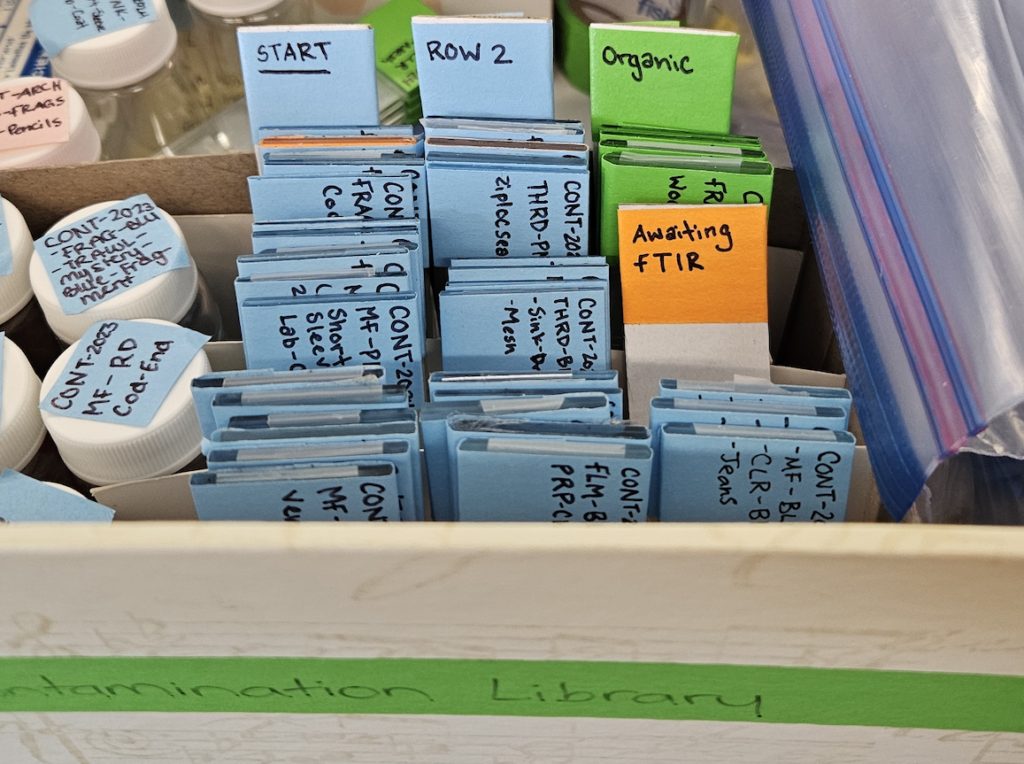
2. Gather appropriate air contamination controls (blanks) for the sample being analyzed. These would have been created while the samples were being processed. Also gather the contamination library that includes slides from common plastics in the lab or during sampling (e.g. Ziplock bags, tape adhesive, rope from trawls, etc).
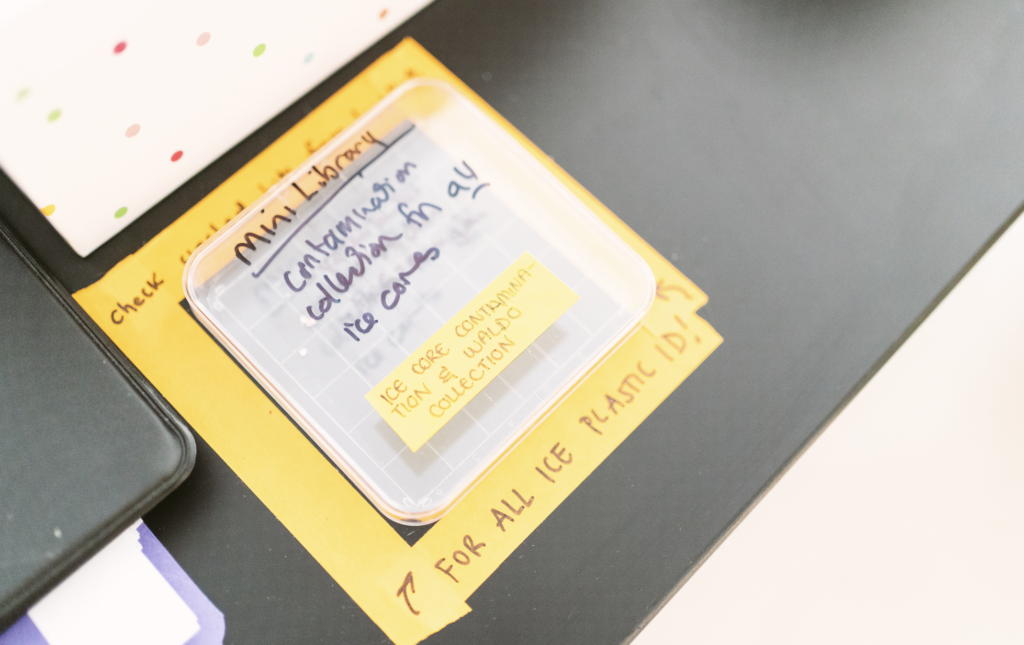
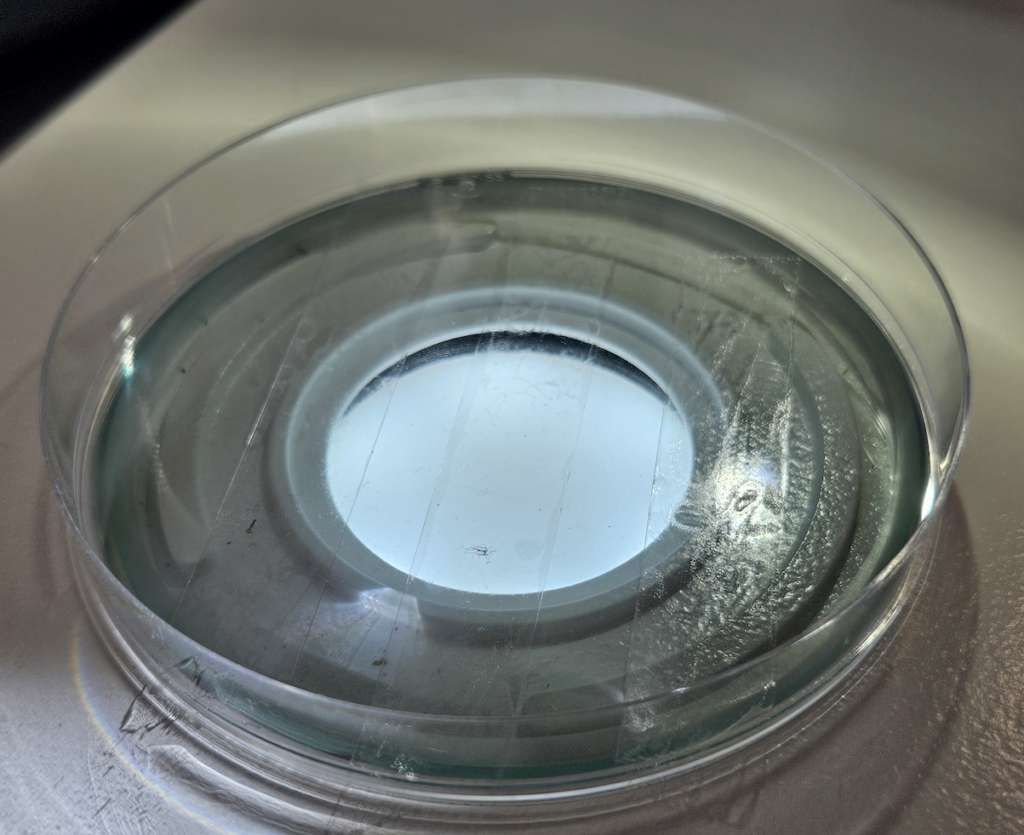
3. Start a new laboratory blank for this analysis section. Put double-sided tape in an open Petri dish and label it with the date and SPOT.
Familiarise yourself with contamination
3. Begin looking at the contamination controls (blank and library) under the microscope. Apply a grid-searching method of scanning the control, paying attention to the individual microfibres present (both on and off of the tape in the control). Try to notice patterns or multiples. Pay attention to kinkiness and thickness of the microfibres. It is not possible to memorise each individual microfibre, but analysing the control will help you to become acquainted with the types of contamination that are common and more likely to be present in the sample. Become familiar with the kinds of microfibres on the control and where they are on the control. This familiarity makes it easier to reference the control when you are uncertain about a potential match.
We often mark off each unique microfibre or other type of plastic in the blank so they are easy to find later.
4. When you’ve looked at all the microfibres, set the blanks and libraries aside and leave the SPOT blank open to catch any other contaminants present while you have filters open. Do not open any field blanks, only the in-lab blank should stay open.
Locate plastics in the sample
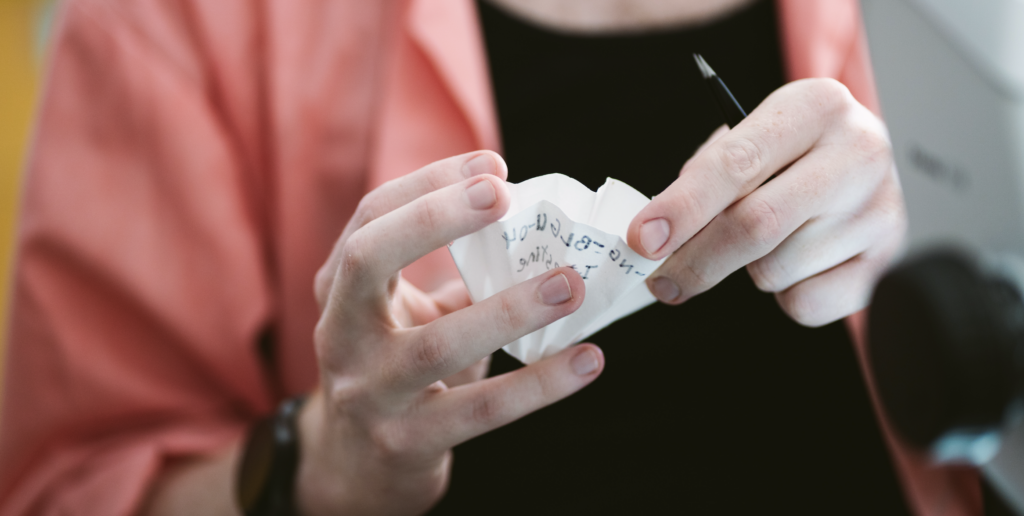
5. Use the datasheet to know what kinds of potential plastics were noted by the initial sample processor in a particular filter. Open that filter and start identification under the microscope. Be sure to open the filter very slowly and carefully to avoid losing any microfibres. Some processors keep the filter under the microscope, and some carefully shake the filter into a glass Petri dish to ensure microfibres do not escape.
Look at each particle individually. If a microfibre matches the thickness, kinkiness, and colour of a microfibre on the control, it is contamination. If a fibre looks unfamiliar or like it isn’t contamination, set it aside for further analysis until you have looked at everything in the filter.
Determine whether a particle is plastic or not using all senses
6. To determine if a particle is organic, first check to see if it has cellular structures, has dried out and become flaky in the filter, or dissolves if wet. Use the Spotters Guide (CLEAR, n.d.) to help you. Some other sensory indicators include:
- Visual: Plastic doesn’t usually have cell structures or much internal uniformity (i.e., patterns within the particle). Plastics might have erosion patterns like melting but organic particles usually don’t melt (hence hot needle testing). Certain colours suggest (but don’t define) organic particles (yellow, brown) while others suggest plastic (blue, orange) and others are completely neutral (black, white).
- Olfactory: When using hot needle tests (see below), organic things sometimes smell like a burning campfire, whereas plastics sometimes smell like burning tires or other chemical sensations.
- Auditory: When a rock or other mineral comes in contact with a glass petri dish, it usually makes a higher-pitched, sharper clink compared to a hard plastic. When you scrape hard particles with your tweezers, rocks will often sound (and feel) more gritty than plastics.
- Tactile: Particles that stick onto tweezers when pressed lightly are usually organic. Particles that really easily break apart are usually organic.
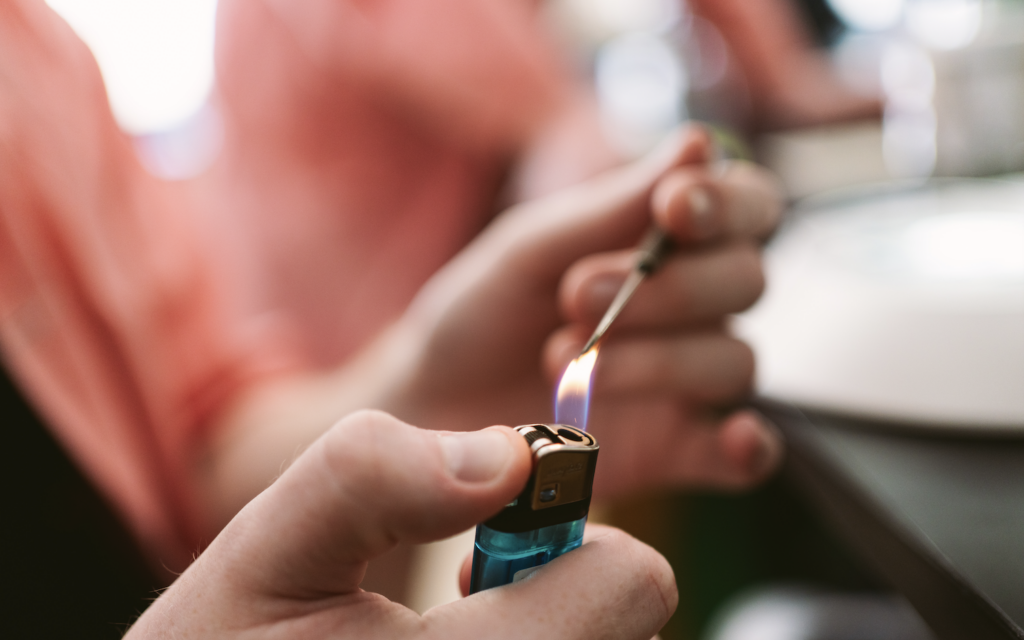
7. If these indicators do not combine to give a clearer idea of whether a particle is plastic, use the hot needle test (De Witte et al., 2014, Beckingham et al., 2023). Hold the end of the needle in the flame of the lighter until it’s hot, and touch it to the particle. Do not use tweezers for this. If the particle visibly melts, it’s likely a plastic. If it does not melt it is still inconclusive because some plastics (e.g., thermoset plastics) do not melt.
- Before using the hot needle test or potentially modifying the particle in any way, make size measurements and other visual descriptions. This ensures that we accurately describe the particle prior to modification.
- Do not hot needle very small particles. It is impossible to determine how very small particles react to heat because oftentimes they become too small to observe in a stereomicroscope or dissolve into the needle completely. Use your other knowledge and visual techniques to help you make a decision on whether it is plastic. When a decision cannot be reached, treat it as if it is a plastic and save it for FTIR analysis to determine whether it is plastic.
8. Tap the plastic, break it (only after measuring!), and look inside if it’s large enough. Weathered plastic fragments are sometimes brighter on the inside than on the outside.
Enter data for likely plastics
9. If you save the particle for FTIR, enter its data in the datasheet. These data include:
- Object: Whether the plastic is an identifiable object. If the plastic is large (macroplastic) and you can identify/recognize it as a known object (e.g., a bottle cap, cigarette butt), note what the object is. If you can not recognize it, record its morphology instead. Morphology instead.
- Morphology: Categorize the type of plastic, or the plastic’s Morphology. (This list is an adapted version of van Franeker et al. 2004’s “Types”. For details on each morphology, see our post on plastic forensics)
- Film: Sheet-like user plastic (e.g., plastic bags, foils), usually broken up into smaller pieces
- Foam: Foamed user plastics, as in foamed polystyrene cups, packaging or aquaculture, or foamed polyurethane in mattresses or construction foams
- Fragment: Small pieces (fragments) of hard plastic items as used in a huge number of applications (bottles, boxes, toys, tools, equipment housing, toothbrushes, lighters etc);
- Microbead: Small round beads, often brightly-coloured or white and from personal-care products
- Microfibre: Thin fibres from clothing. These are thinner and less rigid than threads.
- Pellet: These are small, often cylindrically-shaped granules of ± 4 mm diameter, but also disc and rectangular shapes occur. Various names are used, such as pellets, beads or granules. They can be considered as “raw” plastic or a half- product in the form of which plastics are usually first produced (mostly from mineral oil). The raw industrial plastics are then usually transported to manufacturers that melt the granules and mix them with a variety of additives (fillers, stabilisers, colourants, anti-oxidants, softeners, biocides, etc.) that depend on the user product to be made. For the time being, included in this category is a relatively small number of very small, usually transparent spherical granules, also considered to be a raw industrial product.
- Thread: Thread-like user plastics as in (remains of) ropes, nets, nylon line, packaging straps, etc.
- Microfibre bundle: Bundles of threads and fibres. Do not unbundle the thread before you measure it with the callipers. Keep it as a bundle and count as one item, measuring the dimensions of the bundle as best you can.
- Colour: Use common colour names like “blue” or “green” rather than “teal” or “magenta” and avoid modifiers like “light”, “dark”, etc. These terms get aggregated in final datasets and analyzed quantitatively so they have to match up to make sense.
- Size class: Micro (<5mm), Meso (5-25mm), or Macro (>25mm). There is a handy grid on the bench that helps make this fast.
- Size: Using digital calipers, measure the length (longest dimension), height (second longest) and width (smallest measure) of the plastic in mm. If it is a sphere, measure the diameter, which is both the height and width. If it is spherical, all measures will be the same. If it is a bundle of threads, measure the outside dimensions in its relaxed state.
- Weight: Turn on the scale. When it stabilizes, put a glass dish inside and tare. Then put the plastic in the dish and weight again, being sure to close the glass door. Record the grams accurate to the 4th decimal (tenth of milligram). If you have a microfibre that is too light to weigh, put “0”. Note: In the event that bundles of threads are encountered, where other debris is tangled within (including organic debris), it is acceptable to detangle the bundle and remove organic materials before weighing, but weigh the bundle as a whole.
- Erosion: Enter ‘N’ for No if the plastic is NOT eroded, i.e., new broken plastic, fresh. Enter ‘Y’ for yes if the plastic is eroded (aka weathered), i.e., been in the ocean for awhile
- Erosion type: Indicate which type of erosion is present. This is usually helpful in determining whether or not the item is plastic. If more than one erosion type is present, record it under ‘Erosion type 2’. The following are common types of erosion patterns present in plastics:
- Frayed: Worn at the edges with pieces fraying off
- Melted: Visible parts of the plastic is melted and disformed (shiny and shrunken)
- Burnt: Burnt parts charred from flame along with visible melting around the burns
- Stretched: Especially in threads, visible parts that have been ‘stretched’ and are thinner than other parts
- Cracking: Cracks in the plastics, without full separation into pieces
- Fragmenting: Splitting into fragments, newly split pieces will have smooth shiny edges where it fragmented
- Discoloured: Stained, parts of the plastic a different colour, often ‘dirty’ looking
- Pitted: Especially in fragments, grooves or pits in the plastic’s surface, where chunks have been scraped off
This protocol is designed for those who already do some plastic analysis and are looking to expand their methods to include more senses or details. For a additional details, see the Marine & Environmental Research Institute’s Guide to Microplastic Contamination (n.d.).
References
Beckingham, B., Apintiloaiei, A., Moore, C., & Brandes, J. (2023). Hot or not: Systematic review and laboratory evaluation of the hot needle test for microplastic identification. Microplastics and Nanoplastics, 3(1), 8. https://doi.org/10.1186/s43591-023-00056-4
CLEAR. (n.d.). Spotter’s Guide to Plastic Pollution. Civic Laboratory for Environmental Action Research, Memorial University.
Corcoran, P. L., Biesinger, M. C., & Grifi, M. (2009). Plastics and beaches: A degrading relationship. Marine Pollution Bulletin, 58(1), 80-84. doi:10.1016/j.marpolbul.2008.08.022
Mariano, S., Tacconi, S., Fidaleo, M., Rossi, M., & Dini, L. (2021). Micro and Nanoplastics Identification: Classic Methods and Innovative Detection Techniques. Frontiers in Toxicology, 3, 636640. https://doi.org/10.3389/ftox.2021.636640
Van Franeker, J. A. (2004). Save the North Sea Fulmar-Litter-EcoQO Manual Part 1: Collection and Dissection Procedures. Wageningen, Netherlands: Alterra.
Citation and credit
This protocol was developed based on the literature above and experienced technicians in CLEAR. It is a CLEAR publication, but has been heavily influenced by the insights of Riley Cotter, who also named the multiple-sensory aspect of it “SPOT.” To cite: CLEAR. (2025). “Sense-based Plastic Observation Technique (SPOT),” Memorial University: Civic Laboratory for Environmental Action Research. https://civiclaboratory.nl/2025/03/31/sense-based-plastic-observation-technique-spot/
